Want to subscribe to Telegram Premium, Apple Music, or unlock international apps but don’t have a physical credit card? With a Buvei virtual card, you can now add your card directly to Apple Pay—no physical card needed—enabling seamless global app subscriptions, in-app purchases, and online payments.
Whether you're a privacy-conscious digital native, a cross-border app user, or a Web3 product tester, virtual cards + Apple Pay is the most secure and flexible combination for global payments.
This step-by-step guide will walk you through how to add a virtual card to Apple Pay on your iPhone—in just minutes.
What You’ll Need Before You Start
-
A Visa or Mastercard virtual card (e.g., Buvei)
-
An iPhone with Apple Pay support
-
The latest version of iOS
-
A stable internet connection
Step 1: Get Your Virtual Card
-
Sign in to your Buvei account and open your Dashboard.
-
If you haven’t signed up yet, simply click 'Start Free' to register quickly with your email.
-
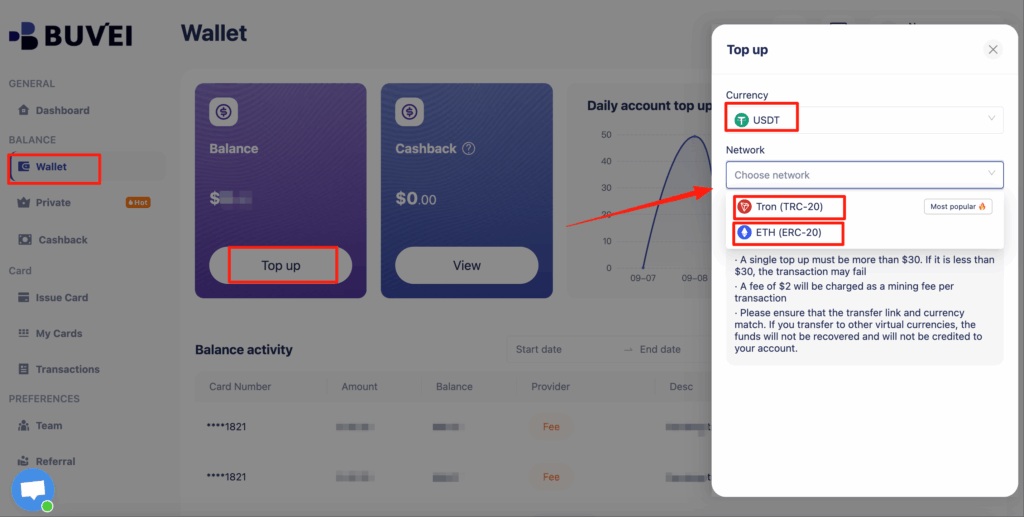
Top up your wallet under the “Wallet” tab
-
Choose TRC20 or ERC20 USDT, Use your crypto wallet to send funds
-
Wait for the balance to reflect (Note: Make sure the network matches your transfer — TRC20 or ERC20)
-
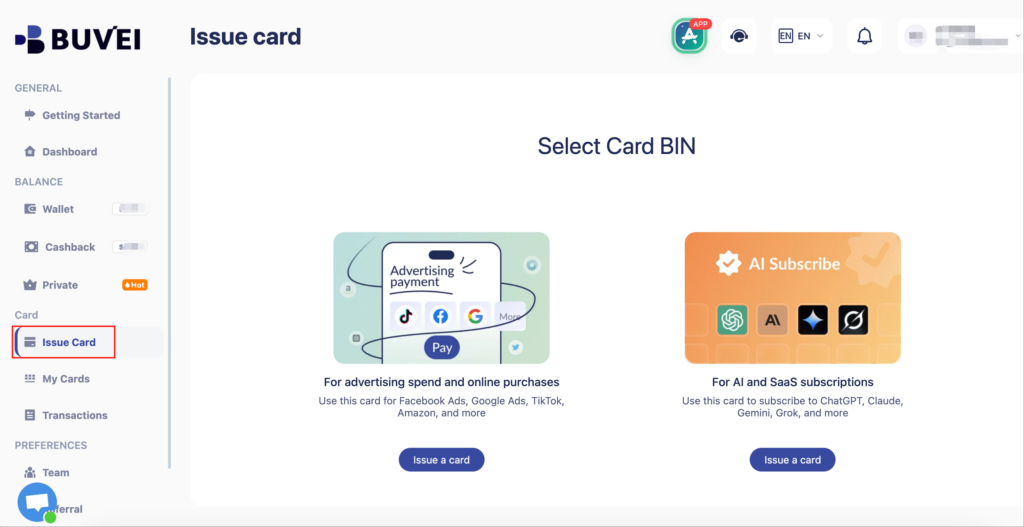
Recharge successful,Click “Issue card”
-
Click Issue and proceed to issue
-
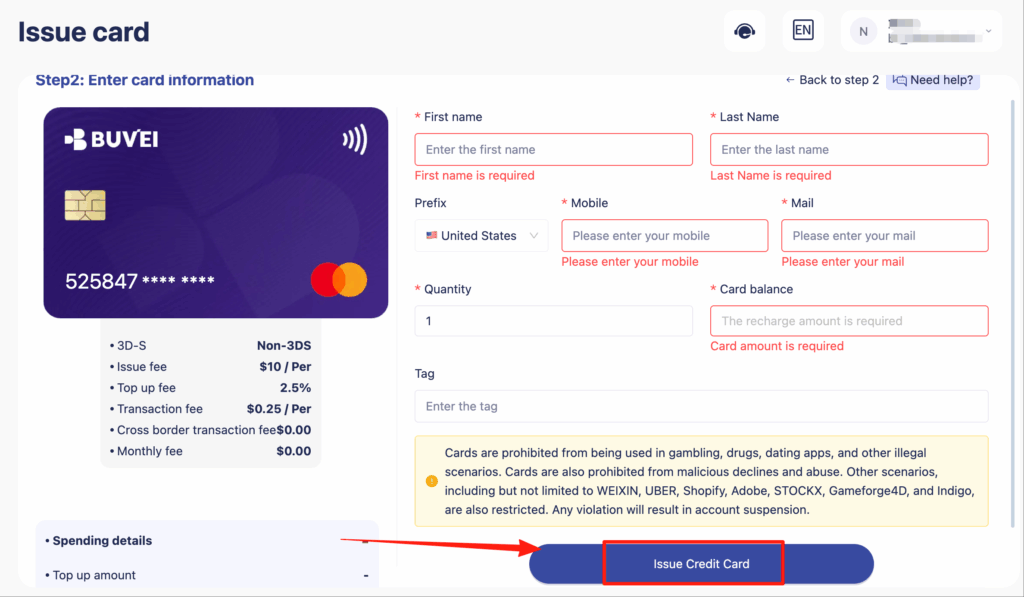
Enter cardholder details:First name,Last name,card quantity, and desired top-up amount
-
Click Issue Credit Card to generate your virtual card
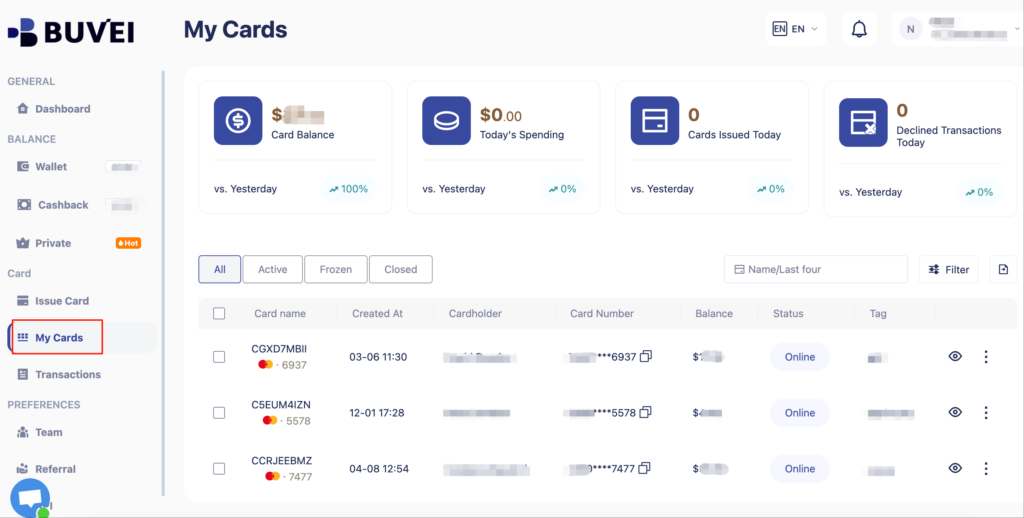
- After generating the card, "My Cards" page to view the card details
- (name, card number, expiry date, CVV).
- You can also recharge, withdraw, or delete the card at any time.
💡 Buvei supports limit-based virtual cards, ideal for use with Apple Pay and secure digital spending.
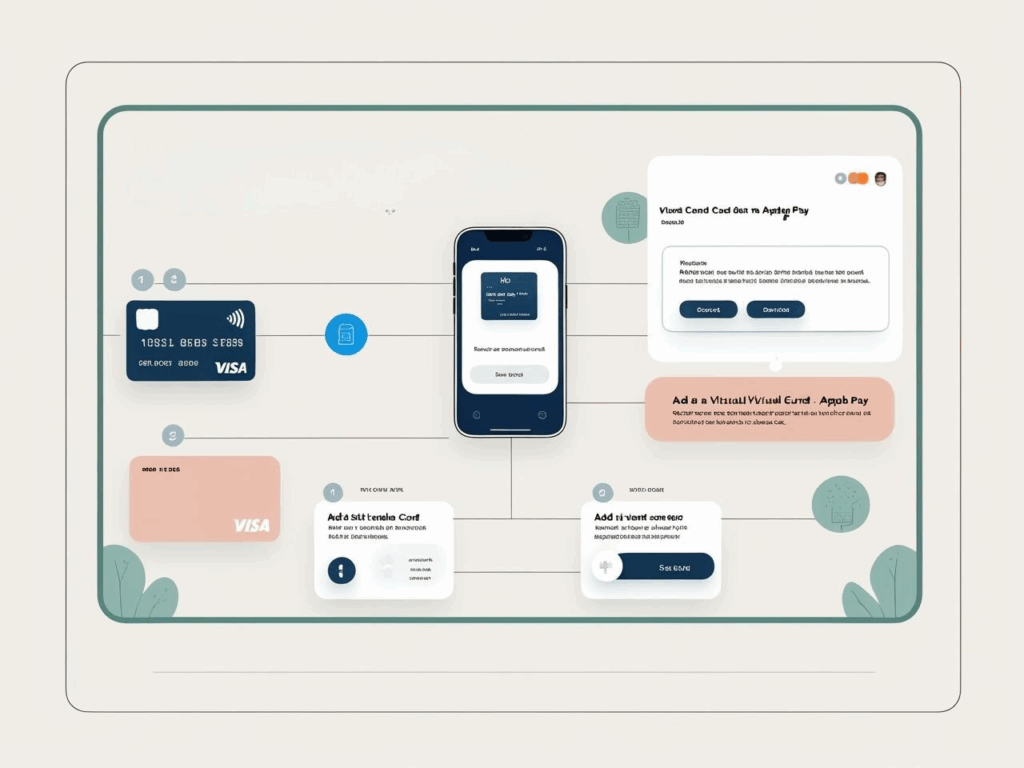
Step 2: Add the Virtual Card to Apple Pay
-
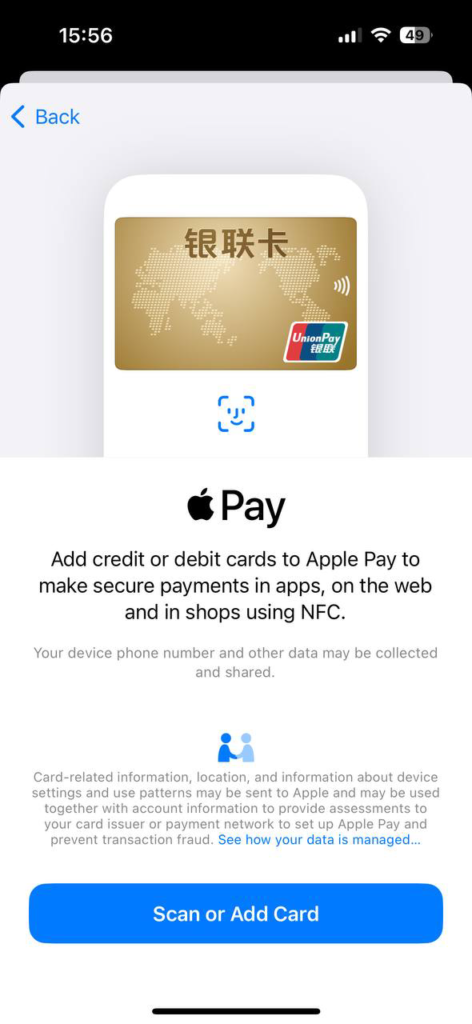
Open Settings on your iPhone
-
Tap Wallet & Apple Pay
-
Tap Add Card → Select Credit or Debit Card

-
Choose “Enter Card Details Manually”
-
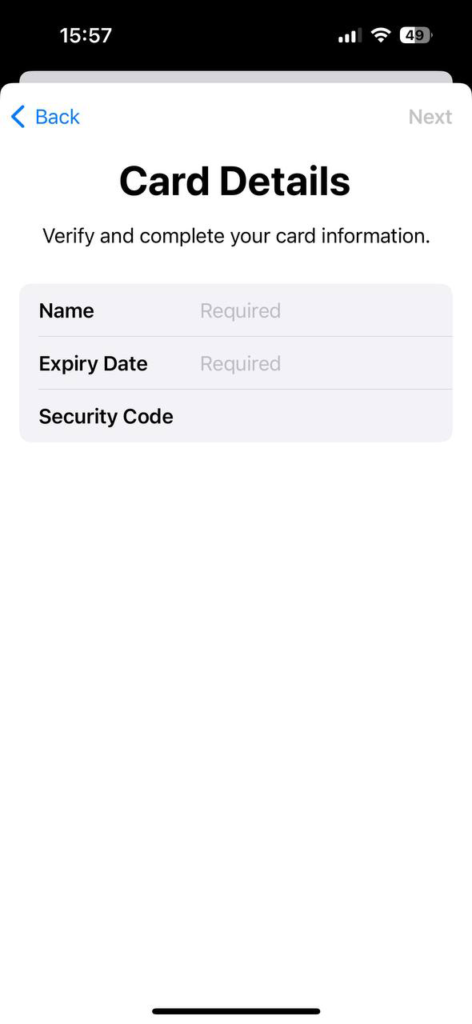
Input your virtual card number, expiration date, and CVV
-
Agree to the Apple Pay terms and wait for system verification
-
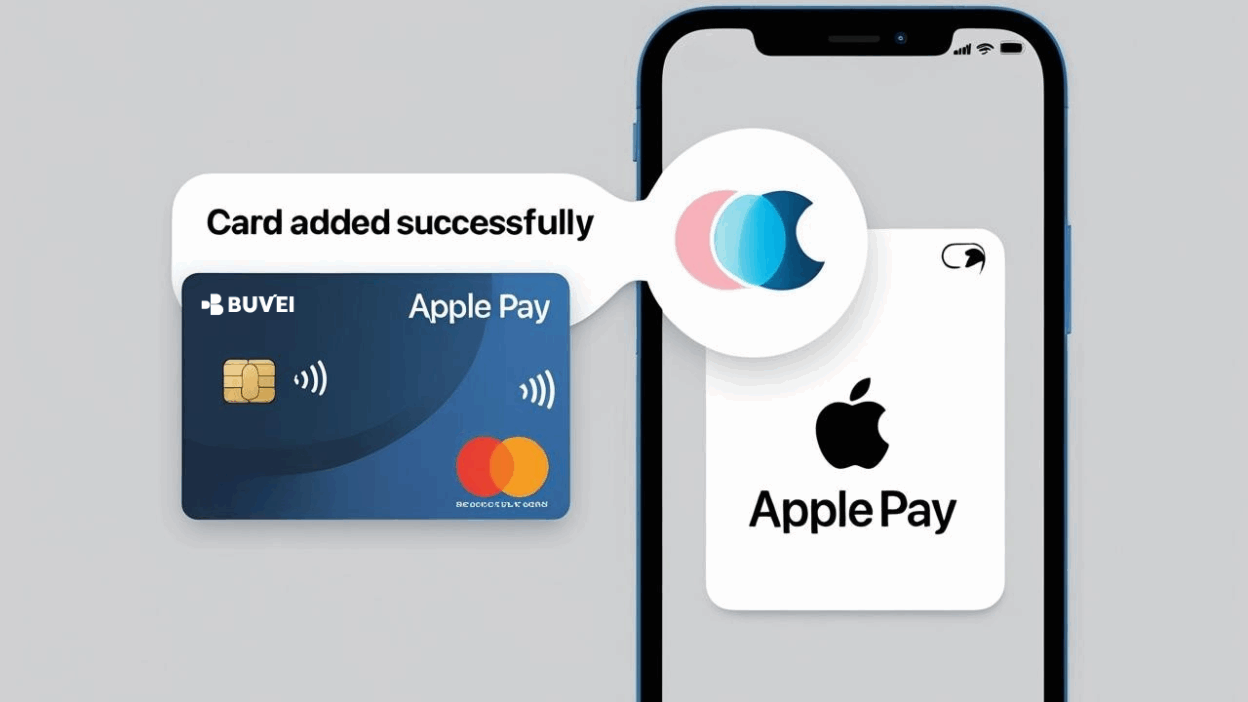
Enter the verification code (sent via email) to complete activation
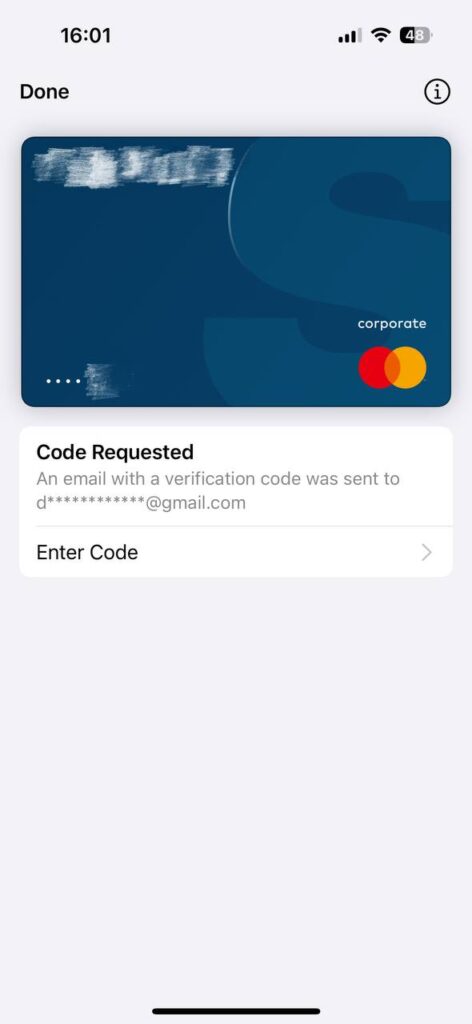
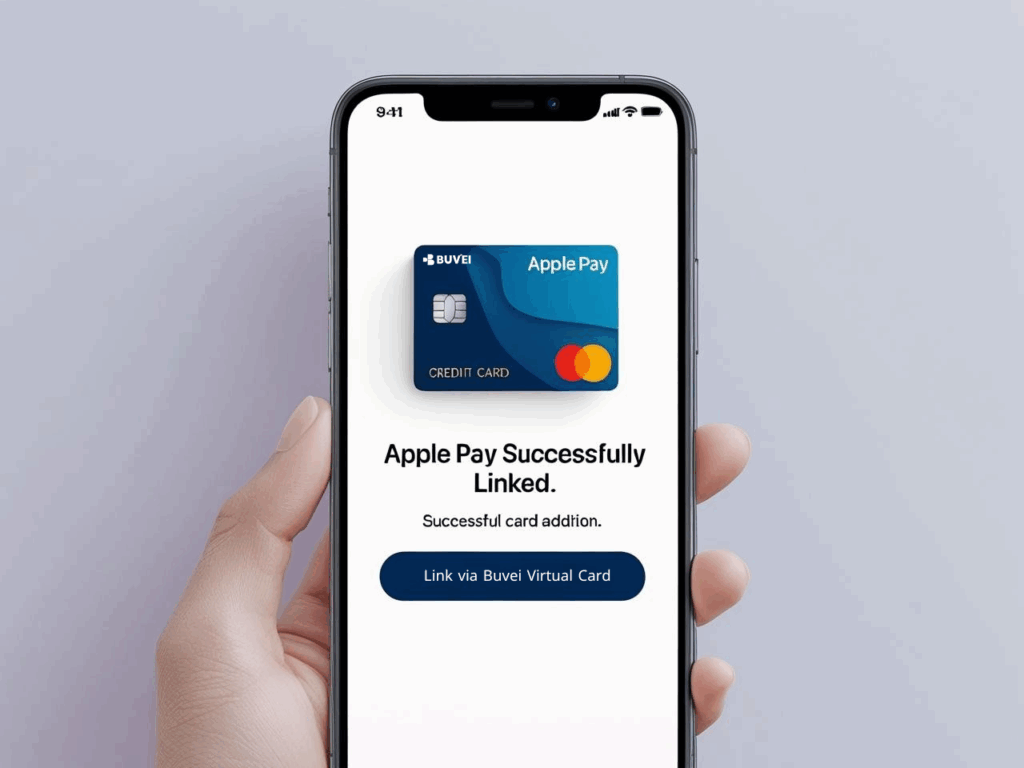
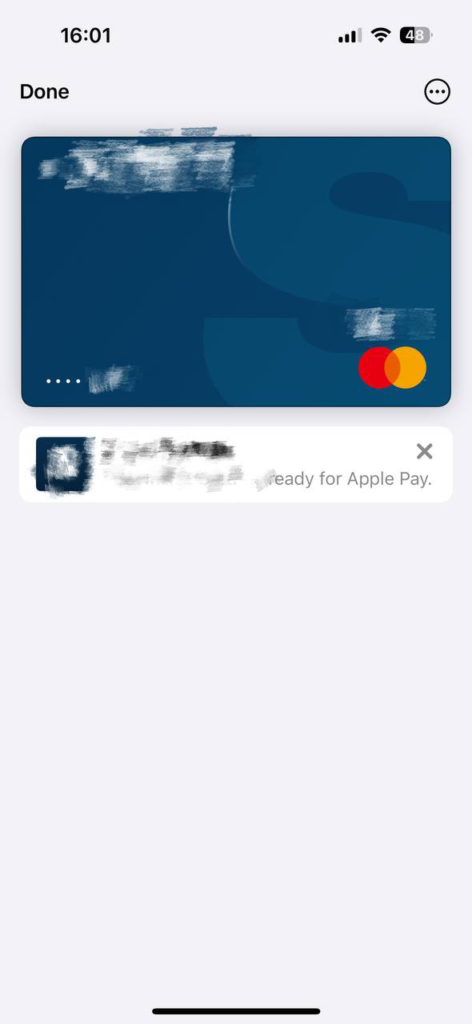
- Once verified, your virtual card will be added and ready for payments via Apple Pay!
Why Use a Buvei Virtual Card with Apple Pay?
-
Compatible with Visa / Mastercard networks worldwide
-
100% online—no physical card required
-
Enhanced privacy with tokenized card numbers
-
Instant activation, no waiting time
-
Configurable spending limits & validity for added security
-
Works across App Store, iCloud, digital subscriptions, and more
Common Use Cases
-
Apple Music / iCloud
-
Netflix / YouTube Premium
-
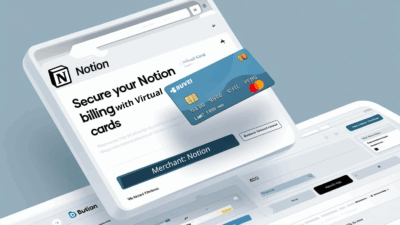
Subscription-based apps (e.g., Notion, ChatGPT Plus, AI tools)
Start Using Apple Pay with a Virtual Card
Adding a Buvei virtual card to Apple Pay isn’t just about convenience—it’s a smarter, safer, and more flexible way to live and pay in the digital world.
Whether you're unlocking global app content or managing international subscriptions, Buvei gives you the control you need—no physical card, no barriers.
🛡 Fast setup, spending limits, fraud protection, and privacy by design. 🔗 Sign up now and generate your personal virtual card in minutes.
Make global payments frictionless—experience the freedom of Buvei + Apple Pay.