When creating an AWS (Amazon Web Services) account, users are required to link a valid payment method—typically an international credit card. For users without access to one, or for those prioritizing privacy, this becomes a major roadblock.
In this guide, Buvei shows you how to successfully register your AWS account without using a personal credit card—using a programmable virtual card instead.
Why Some Users Prefer Not to Link Personal Credit Cards
Although credit cards are used by AWS for identity and billing verification, many users hesitate due to:
🧾 Lack of International Credit Cards Some users, especially in regions with banking restrictions, don’t have access to Visa or Mastercard credit cards.
🛡️ Privacy Concerns They prefer not to share personal financial data with global platforms due to security or compliance risks.
💳 Fraud Detection Triggers Running multiple accounts for testing or business purposes can easily flag traditional cards for suspicious activity.
Benefits of Registering AWS with a Buvei Virtual Card
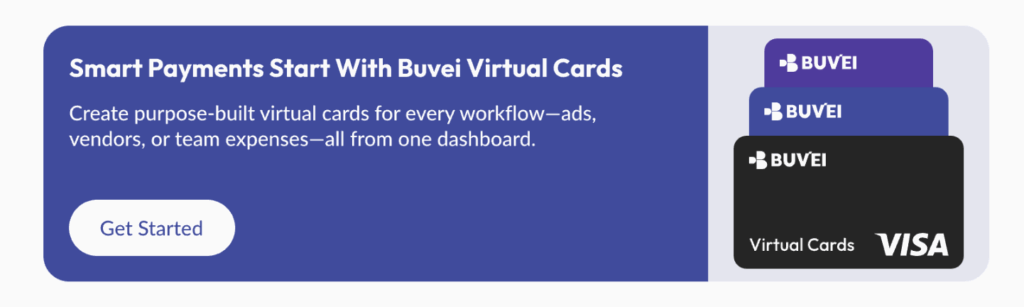
Buvei offers flexible-use virtual cards that are anonymous, compliant, and fully compatible with AWS.
✅ Visa / Mastercard compatible
✅ Instantly generated card details (number, CVV, expiry)
✅ Custom spending limits and usage tags
✅ High approval rate for international SaaS platforms
Step-by-Step Guide: Registering AWS with a Buvei Virtual Card
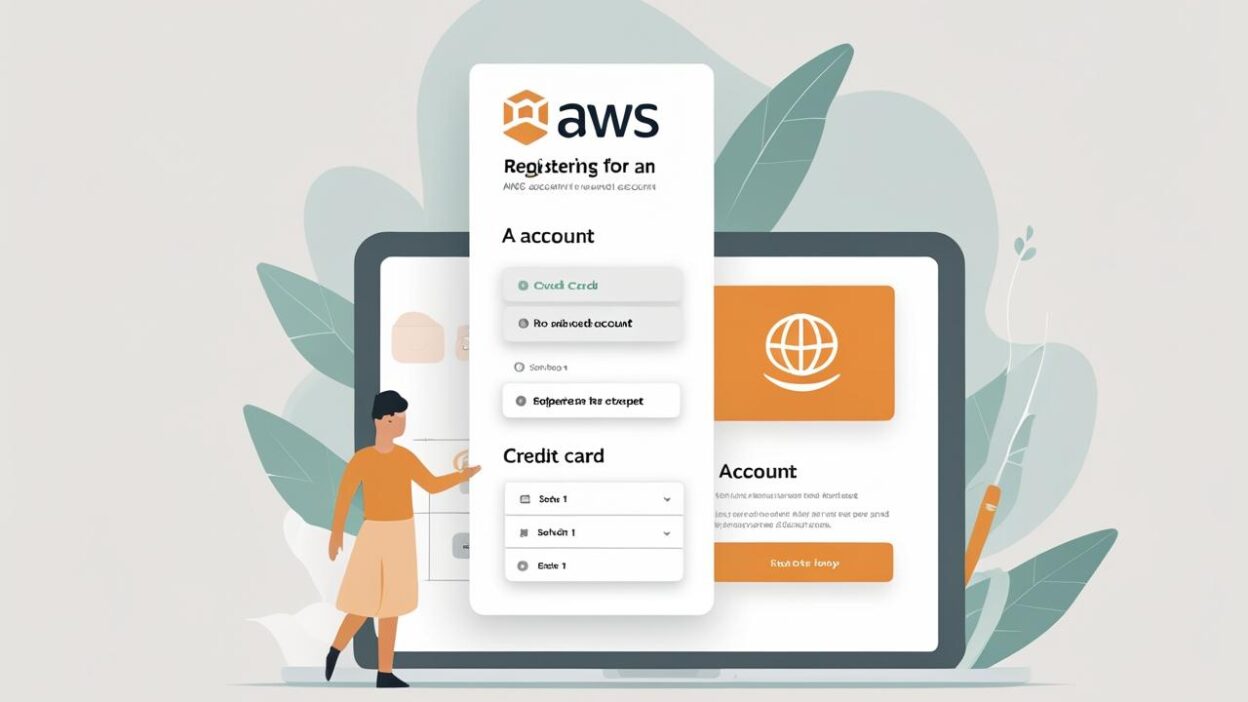
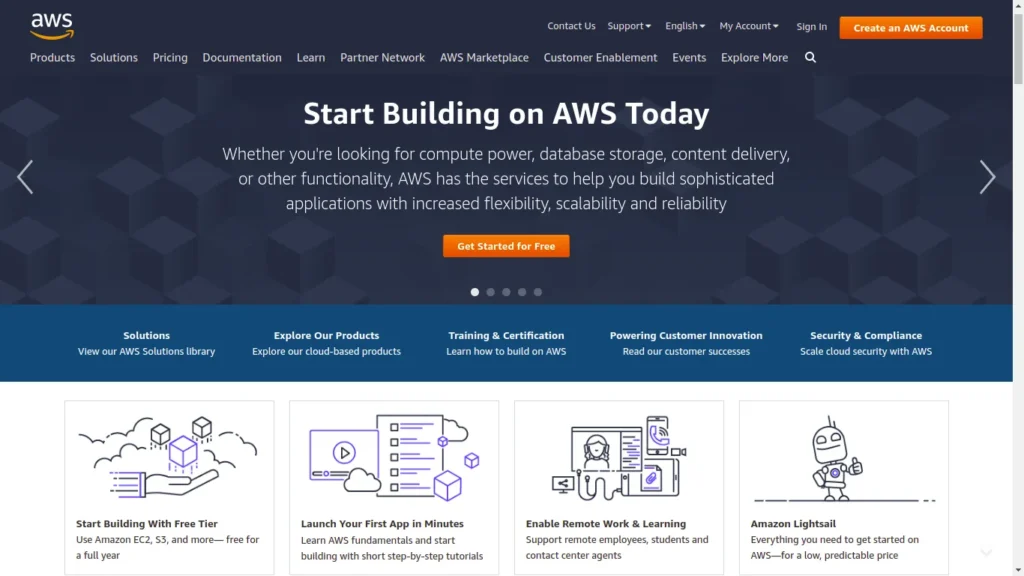
Step 1: Create an AWS Account
-
Go to https://aws.amazon.com and click "Create an AWS Account" in the top-right corner.
- Enter your email, set a password, and choose your account name.
-
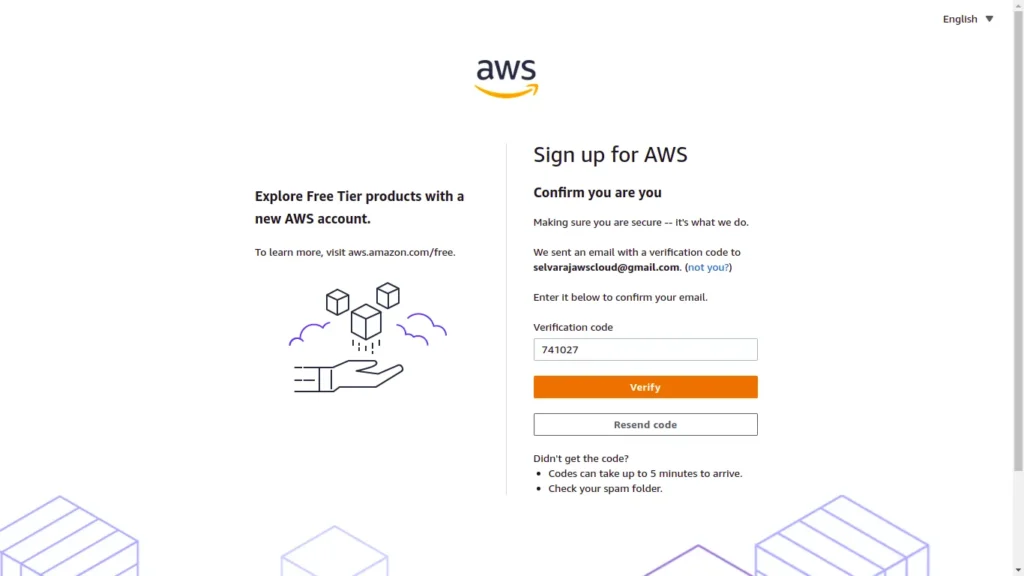
Check your inbox for a verification email and enter the code provided.
-
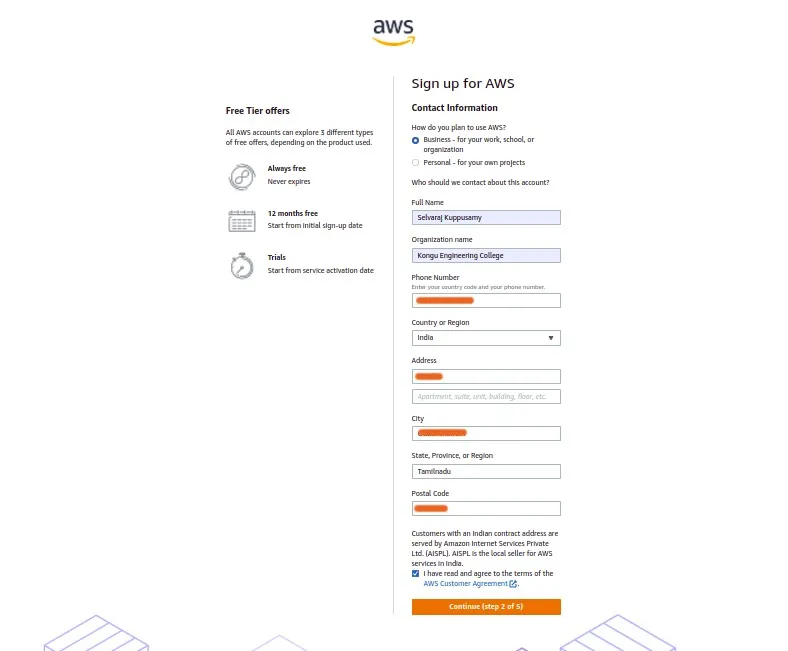
Once verified, you’ll be prompted to set a root user password and provide basic personal information.
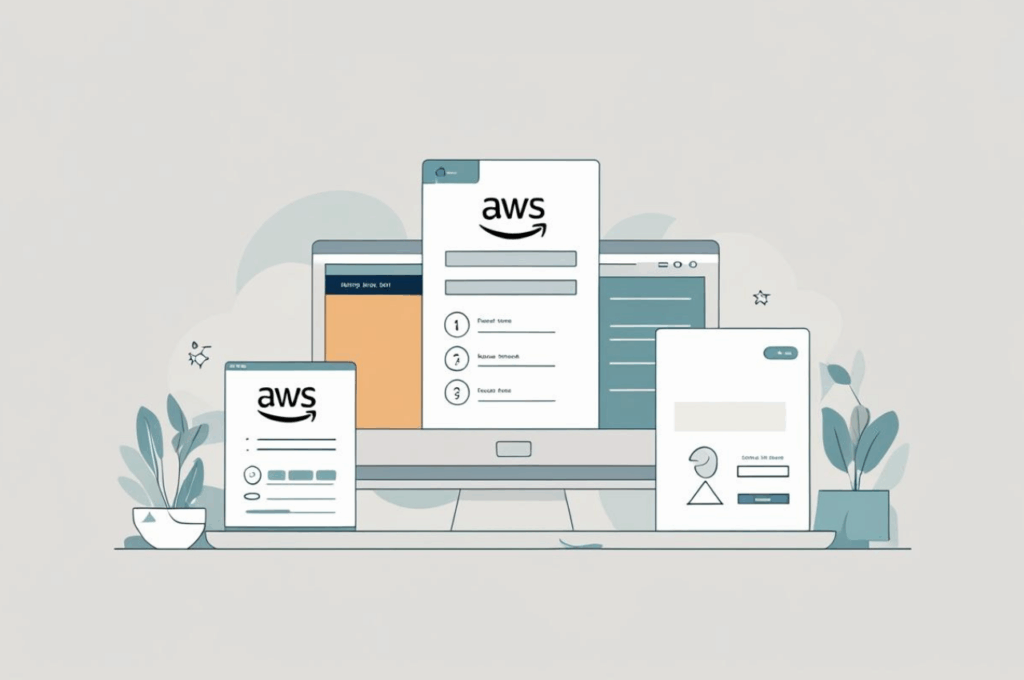
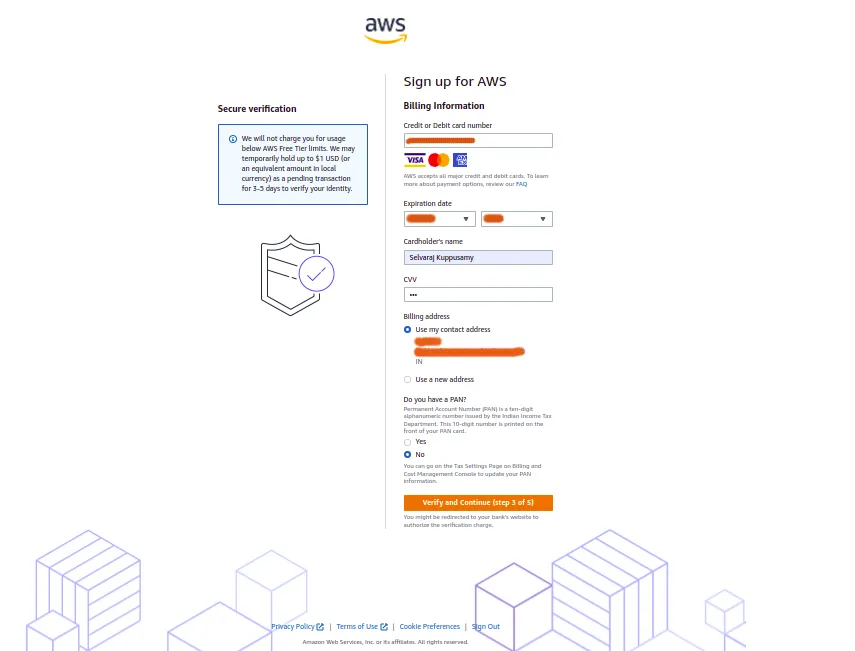
Step 2: Enter Payment Details
-
You’ll now be asked to link a payment method. Choose credit card, and enter the details from your Buvei virtual card. Don’t worry about fees—this step only triggers a temporary verification hold (usually $1).

-
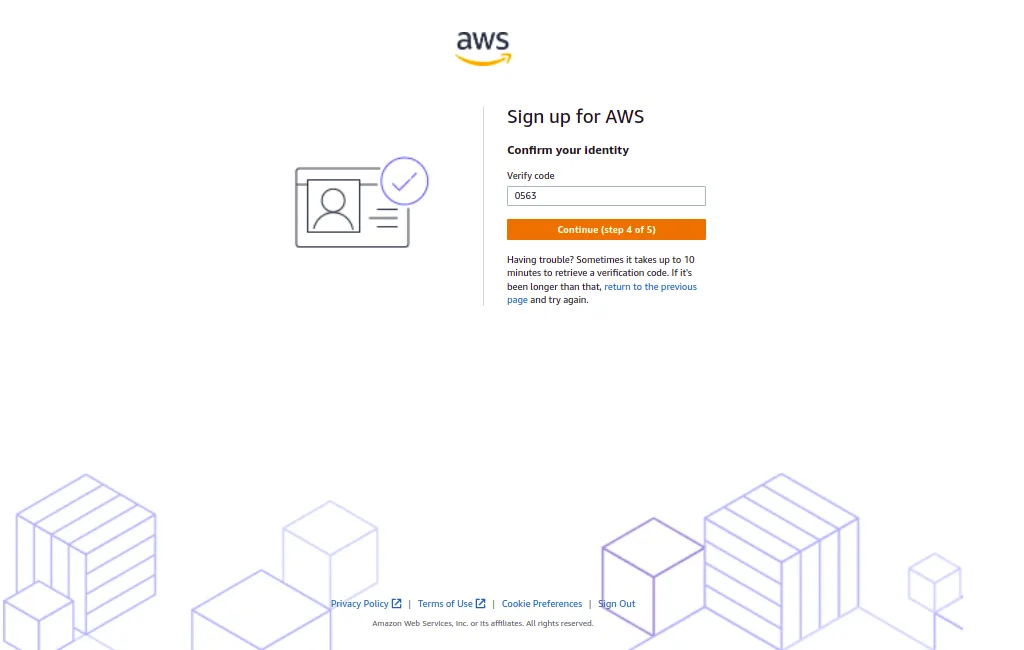
A one-time passcode will be sent to your mobile number to complete identity verification. You can choose between SMS or voice call.
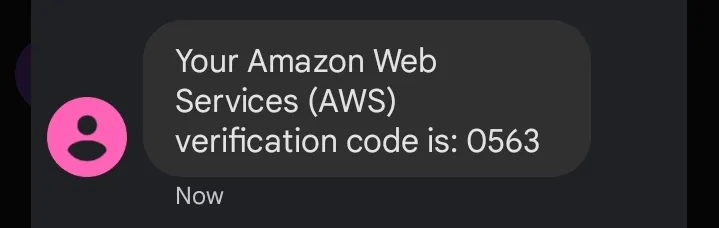
-
Enter the CAPTCHA and the code received via SMS, then proceed.
Step 3: Choose a Support Plan
-
On the final screen, choose one of AWS’s support plans. The Basic Support – Free option is suitable for most users.
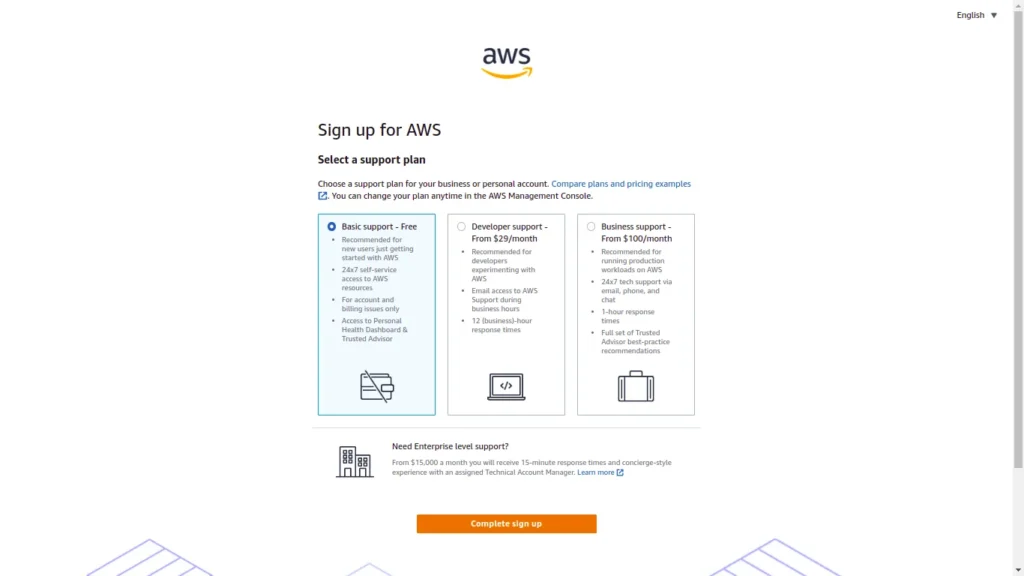
-
Click “Complete Sign Up” and your account will be activated.
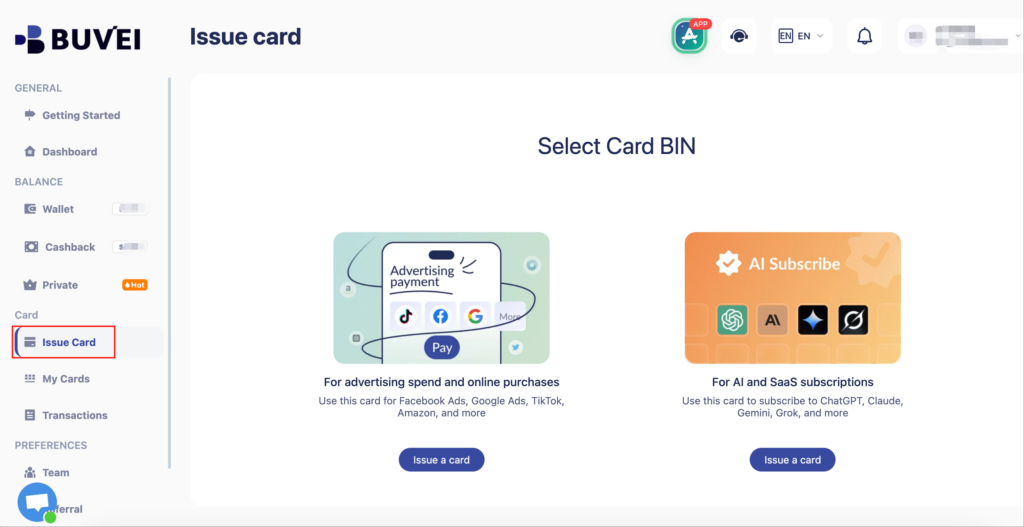
How to Get a Buvei Virtual Card
- Visit https://buvei.com and sign up for a free account

- Navigate to Wallet to top up your balance
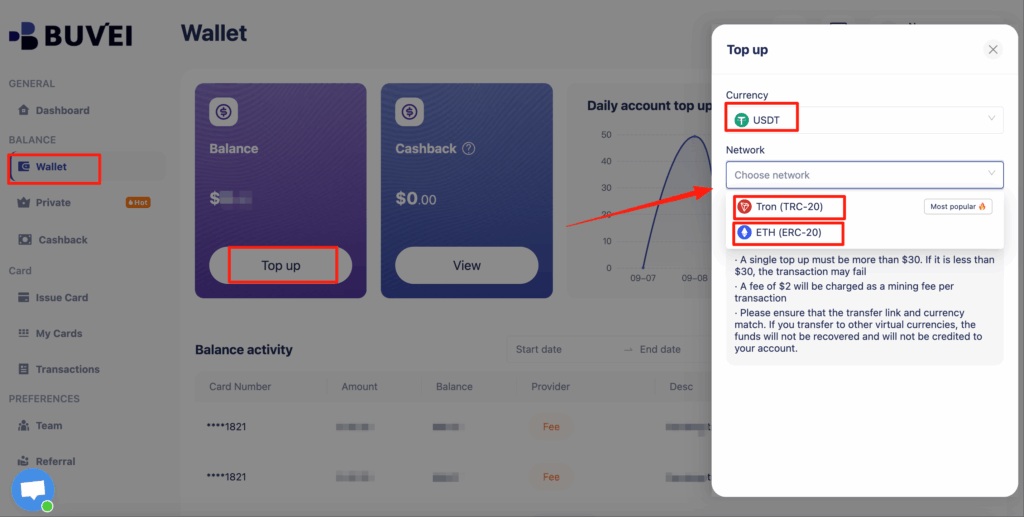
- Issue Card ➡️ Choose your preferred card type (Visa or Mastercard),Click"Issue“
- Fill in your card name, email, and card limit → Click Create Card
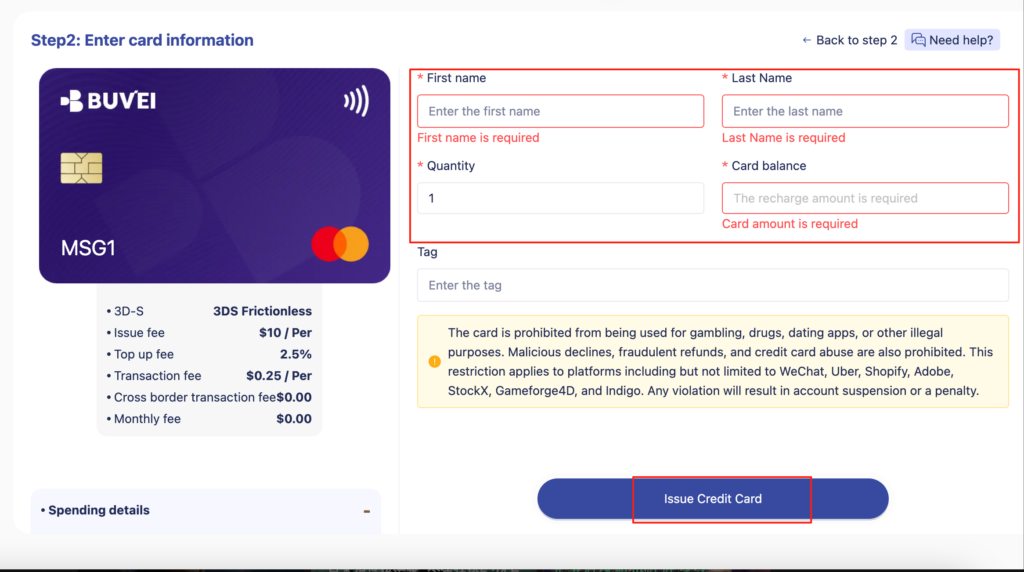
- Your virtual card details (number, expiry, CVV) will be generated in seconds
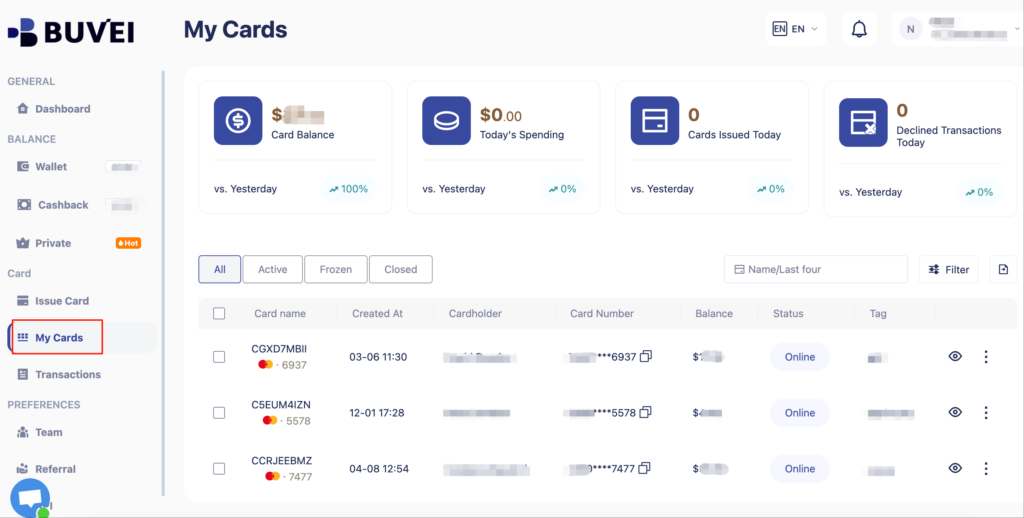
You can now use the card to complete AWS registration.
Frequently Asked Questions
Q1: Can AWS ban accounts that use virtual cards?
As long as the virtual card is verified and from a compliant issuer (like Buvei), it should not trigger any fraud flags. We do not recommend using low-trust cards or creating multiple accounts for abuse.
Q2: Can Buvei cards be used for automatic billing?
Yes. You can enable auto-renewals and set spending limits—perfect for long-term cloud subscriptions or project usage.
Where Else Can You Use Buvei Cards?
Buvei’s virtual cards are accepted by most global platforms, including:
☁️ Google Cloud / Microsoft Azure
🎬 Netflix / YouTube Premium
📢 Google Ads / Meta Ads / TikTok for Business
🧠 ChatGPT Plus / Notion / Midjourney / Runway
Easy, Secure, Compliant
By using Buvei virtual cards, you skip the hassle of using a real credit card, protect your privacy, and stay in full control of your cloud expenses. No KYC required, no physical card—just fast, secure access.