
Microsoft Azure powers millions of apps, startups, and enterprises worldwide.
However, there is one common frustration shared by users everywhere:
Azure often requires a credit card — and many users simply don’t have one.
The good news?
You can pay for Azure without a traditional credit card by using the right virtual card setup.
This guide walks you through the process step by step.
Azure Payment Requirements Explained
Azure billing is stricter than most SaaS platforms. Microsoft treats cloud usage as high-risk financial activity, so it applies strong controls.
When you add a payment method, Azure evaluates:
-
Card network (Visa / Mastercard reliability)
-
BIN reputation
-
Support for recurring and usage-based billing
-
Authorization success rates
-
Account history and region consistency
-
Risk behavior over time
This is why many prepaid cards and low-quality virtual cards fail quickly on Azure.
Azure is not looking for a "card-shaped object."
It’s looking for a stable, professional payment instrument.
Why Many Users Can’t Use Local Bank Cards
Even users with bank cards often struggle.
Common issues include:
-
Local debit cards blocked for international transactions
-
Banks declining Microsoft or cloud-related merchants
-
Currency conversion issues
-
Frequent $0–$1 authorization failures
-
Strict fraud filters for cloud services
-
Limited support for recurring usage billing
In countries like Nigeria, India, Pakistan, Egypt, Indonesia, and parts of Eastern Europe, this problem is especially common.
That’s why many users look for alternatives.
Using Virtual Cards as an Alternative Payment Method
A high-quality virtual card can function like a professional international payment method — if it’s designed for business use.
A reliable virtual card for Azure must support:
-
Stable BIN ranges (good reputation)
-
Recurring billing
-
Frequent authorization checks
-
High-trust merchants like Microsoft
-
Long-term card lifespan
-
Adjustable limits for cost control
Cheap disposable cards or trial cards almost always fail on Azure.
Professional-grade virtual cards, however, can work consistently.
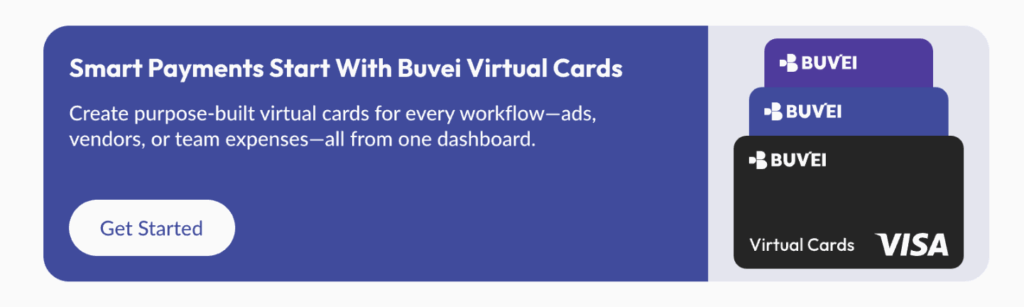
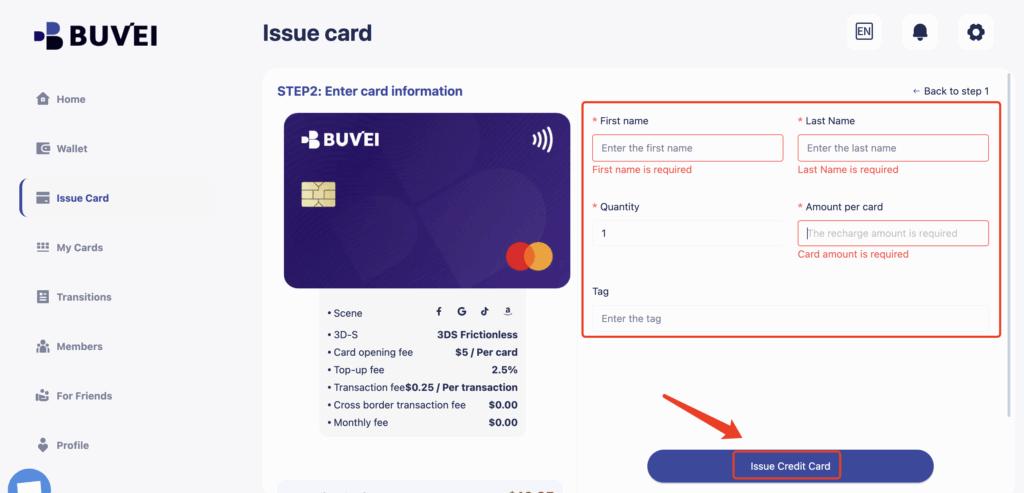
How to Open a Buvei Virtual Card for Azure Billing
Here is the complete Buvei setup process:
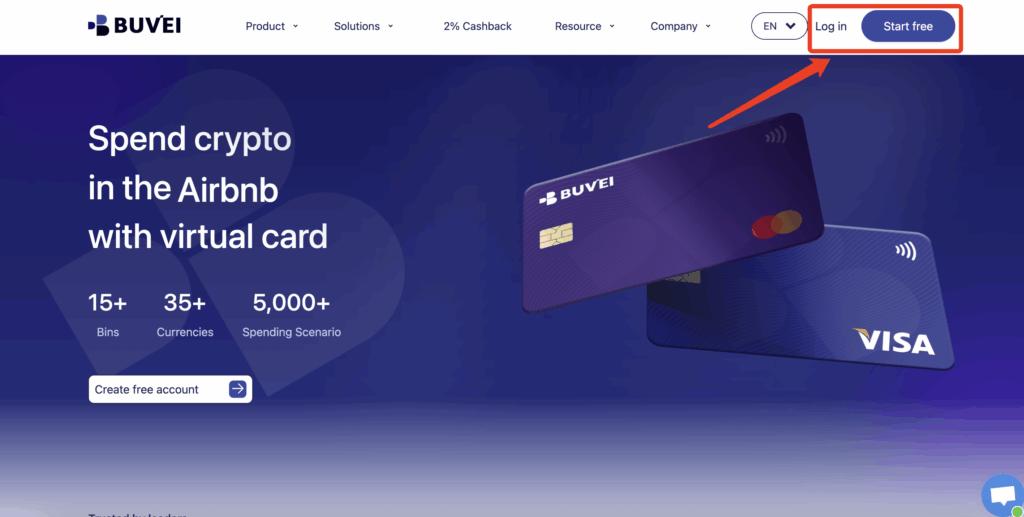
Step 1: Register a Buvei Account
Visit https://buvei.com and create a free account.
After completing email verification, log in to access the Buvei dashboard.
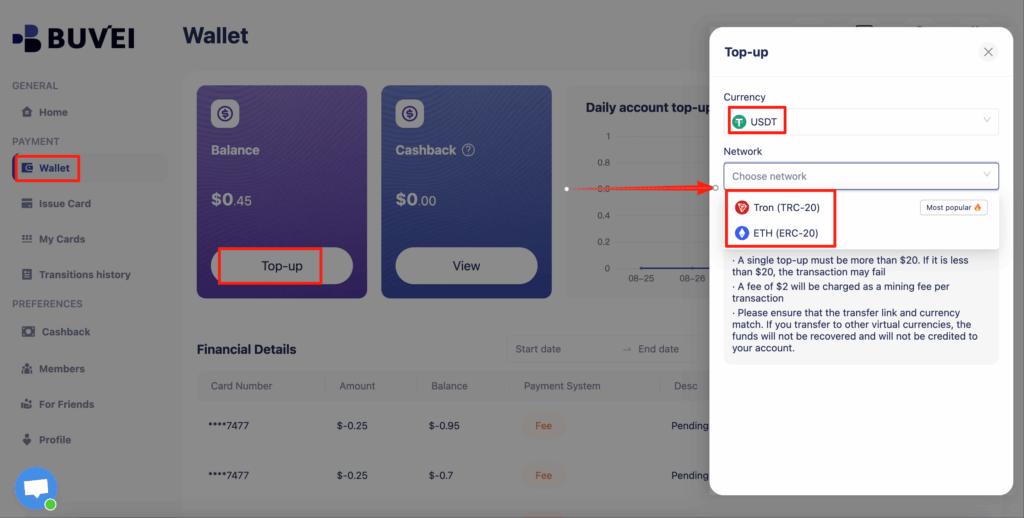
Step 2: Fund Your Account
Go to the Wallet tab and top up using supported stablecoins such as USDT (TRC20 or ERC20).
You will receive a unique deposit address — simply send funds to that address.
Once confirmed, your balance will appear instantly and is ready to use.
Step 3: Create Your Virtual Card
Go to the Cards tab
Choose your preferred BIN region (US BIN recommended)
Select your card type
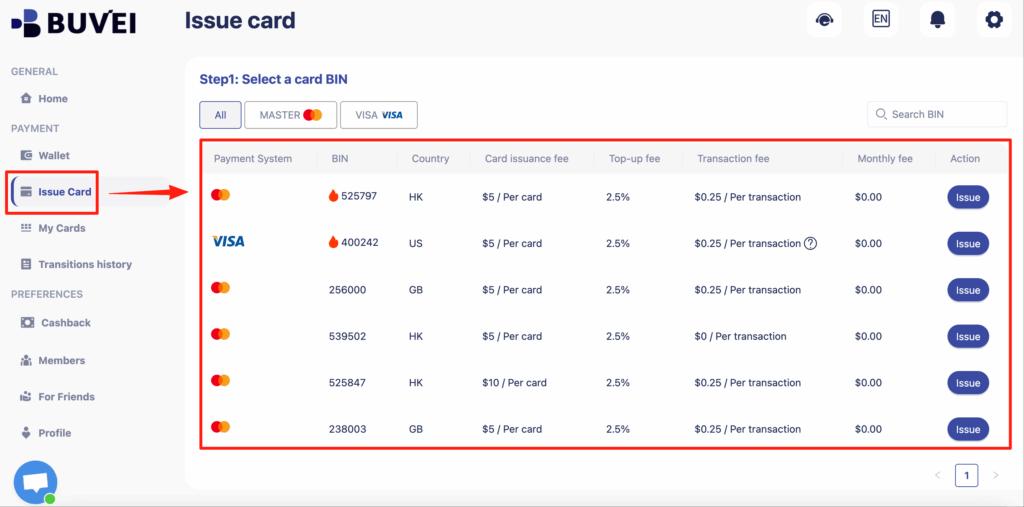
Click create
Fill in card details including card name, amount, and quantity
Click issue card
After creation, go to My Cards to view:
-
Card number
-
Expiry date
-
CVV
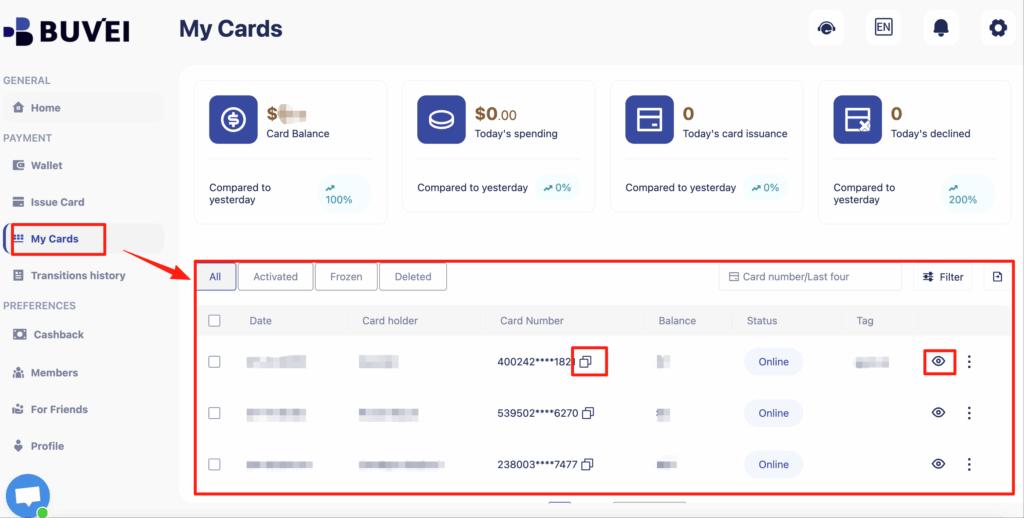
You can also see full transaction history and card usage overview.
This Buvei card can now be used directly inside Azure billing.

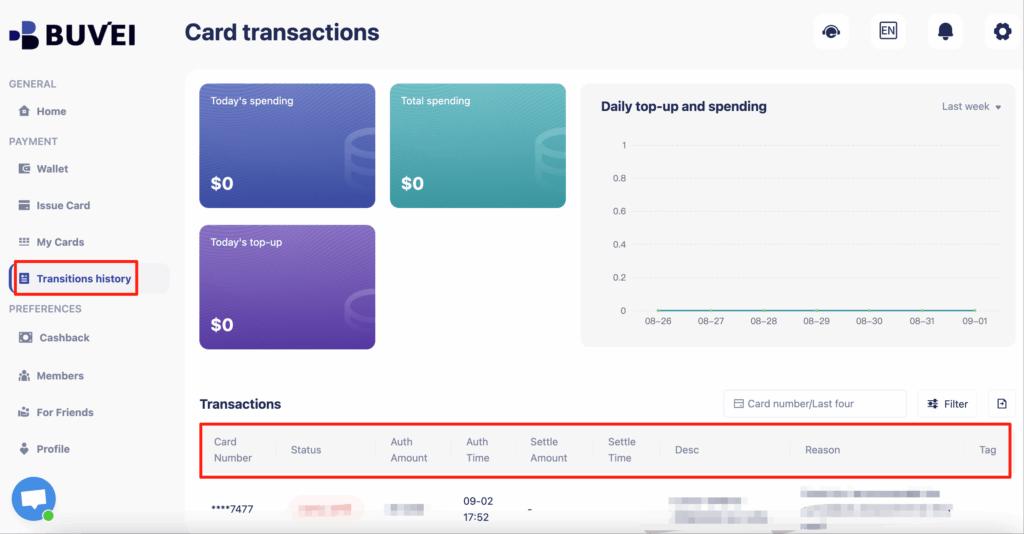
Managing Cloud Costs with Card Limits
One underrated advantage of virtual cards is cost control.
With Buvei, you can:
-
Set per-card spending limits
-
Control monthly exposure
-
Separate projects across different cards
-
Pause or replace cards instantly
-
Monitor every transaction in real time
This makes virtual cards ideal not just for access, but also for financial discipline when running cloud infrastructure.
For freelancers, startups, and agencies, this control is often better than using a traditional credit card.
Final Thoughts
You don’t need a traditional credit card to use Azure — but you do need the right payment infrastructure.
With:
-
A stable, business-grade virtual card
-
Proper setup
-
Consistent billing behavior
-
A platform like Buvei built for serious online payments
You can access Microsoft Azure reliably, control your costs, and avoid the constant stress of payment failures.