Managing AWS bills efficiently is crucial for businesses leveraging cloud services. One innovative method to streamline payments is by using virtual cards. These digital payment methods offer enhanced security and control over transactions. In this guide, we'll walk you through the process of paying your AWS bills using virtual cards, highlighting the benefits and considerations.

Understanding Virtual Cards
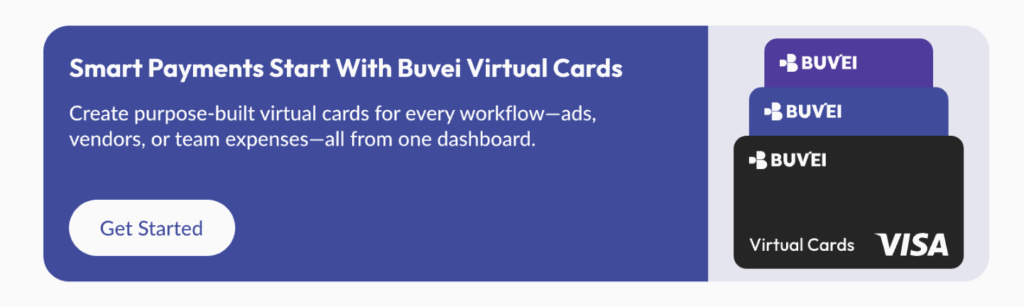
What Are Virtual Cards?
Virtual cards are digital representations of credit or debit cards. They provide a unique card number for each transaction or merchant, enhancing security by reducing the risk of fraud. These cards are typically issued by financial institutions or specialized platforms like Buvei.
Benefits of Using Virtual Cards for AWS Payments
-
Enhanced Security: Unique card numbers for each transaction reduce fraud risks.
-
Control Over Spending: Set spending limits and expiration dates to manage expenses effectively.
-
Ease of Use: Quick setup and integration with AWS Billing and Cost Management console.
Choosing a Virtual Card Provider
Select a reputable virtual card provider that offers features aligning with your business needs. Platforms like Buvei specialize in providing virtual card solutions tailored for businesses.
Creating a Virtual Card
-
Sign Up: Register on your chosen provider's platform.
-
Verify Identity: Complete any required KYC (Know Your Customer) processes.
-
Generate Card: Create a new virtual card, specifying details like spending limits and expiration dates.
Adding Funds to the Virtual Card
Transfer the desired amount into your virtual card account. Ensure sufficient funds are available to cover your AWS bill.
Adding the Virtual Card to AWS Billing
Accessing AWS Billing and Cost Management Console
-
Log in to your AWS account.
-
Navigate to the
Adding the Virtual Card as a Payment Method
-
Go to Payment Preferences: In the navigation pane, select "Payment preferences."
-
Add Payment Method: Click on "Add payment method."
-
Enter Card Details: Input the virtual card number, expiration date, and CVV.
-
Billing Address: Provide the billing address associated with the virtual card.
-
Set as Default: Optionally, set this card as your default payment method.
Verification
AWS may perform a small authorization charge to verify the card. Ensure your virtual card provider allows such transactions.
Making Payments with the Virtual Card
Automatic Payments
AWS typically charges your default payment method at the beginning of each month. Ensure your virtual card has sufficient funds to avoid payment failures.
Manual Payments
If automatic payment fails:
-
Navigate to Payments: In the AWS Billing and Cost Management console, go to "Payments."
-
Select Invoice: Choose the outstanding invoice.
-
Complete Payment: Click on "Complete payment," review the details, and confirm the payment using your virtual card.
Monitoring Payments
Regularly check your AWS billing dashboard to monitor payments and ensure all invoices are settled.

Conclusion
Utilizing virtual cards for AWS bill payments offers enhanced security, control, and efficiency. By following the steps outlined in this guide, you can seamlessly integrate virtual cards into your AWS billing process. Platforms like Buvei provide tailored virtual card solutions to meet your business needs. Embrace digital payment methods to streamline your cloud service expenses effectively.