
Many cloud platforms require a valid payment method before activating an account. For businesses, developers, and teams working globally, this often creates friction—especially when personal credit cards are not preferred or available.
This guide explains how to create a cloud account without using a personal credit card and how virtual cards provide a flexible billing solution.

Why Cloud Platforms Require Payment Methods
Most cloud providers require a payment method for several reasons:
-
Identity verification
-
Fraud prevention
-
Resource usage tracking
-
Subscription billing
-
Automated cost management
Even free-tier accounts typically require a card on file to activate services.
Problems with Using Personal Credit Cards for Cloud Services
Using a personal credit card for cloud billing can create challenges:
-
Mixing personal and business expenses
-
Limited spending control
-
Difficulty managing team usage
-
Security concerns
-
Risk of unexpected charges
-
Complications when scaling projects
For businesses and agencies, separating billing infrastructure from personal finance is often more practical.
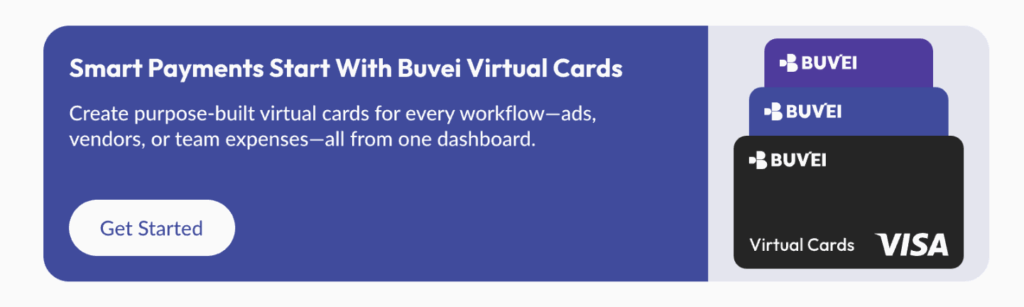
How Virtual Cards Enable Cloud Account Creation
Virtual cards offer a structured alternative to personal credit cards.
They function like standard Visa or Mastercard payment methods but allow:
-
Controlled spending limits
-
Dedicated billing per project
-
Easy card creation and deletion
-
Secure online transactions
-
Separation of financial responsibility
When used correctly, virtual cards can be added to cloud platforms just like traditional cards.
Step-by-Step: Creating a Cloud Account Without a Credit Card
Follow this structured process.
Step 1: Choose a Virtual Card Provider
Select a platform that offers:
-
Flexible card limits
-
Transparent fees
-
Secure backend management
-
Fast issuance
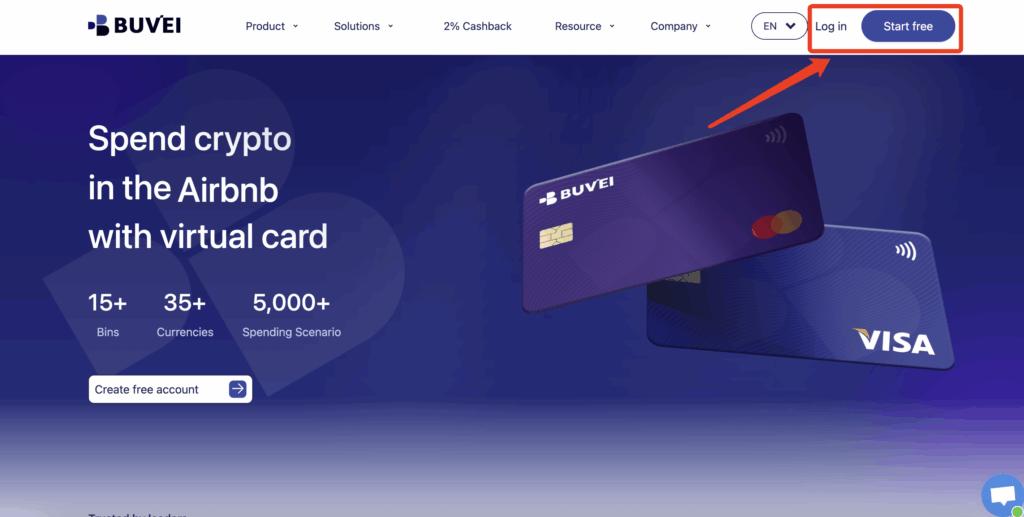
Step 2: Register a Buvei Account
To manage virtual cards for cloud billing:
-
Visit https://buvei.com
-
Create a free account
-
Complete email verification
-
Log in to access the dashboard
After login, you will see Wallet and Card management tools.
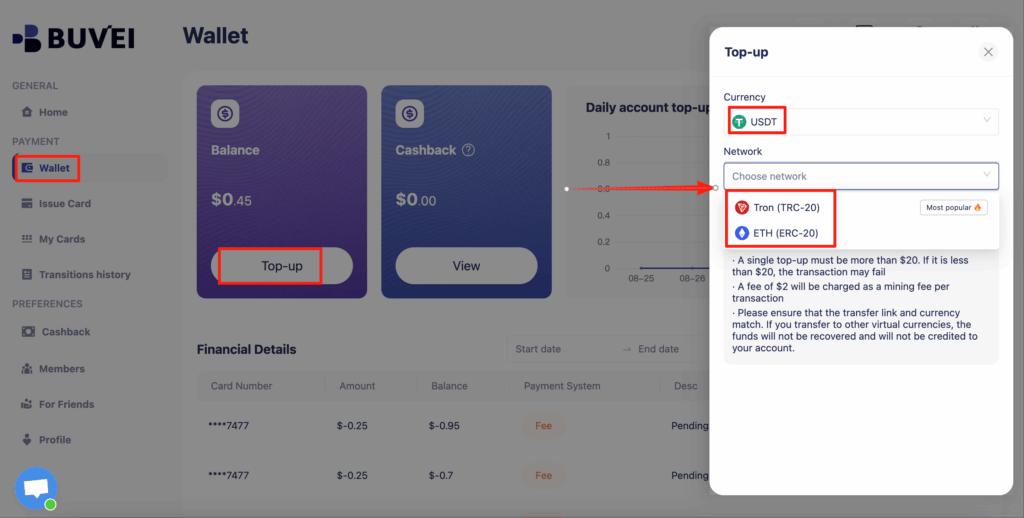
Step 3: Add Funds via USDT
Inside the dashboard:
-
Go to the Wallet section
-
Select USDT (TRC20 or ERC20)
-
Copy your unique deposit address
-
Transfer funds from your crypto wallet
-
Wait for blockchain confirmation
Once confirmed, your balance becomes available for card creation.
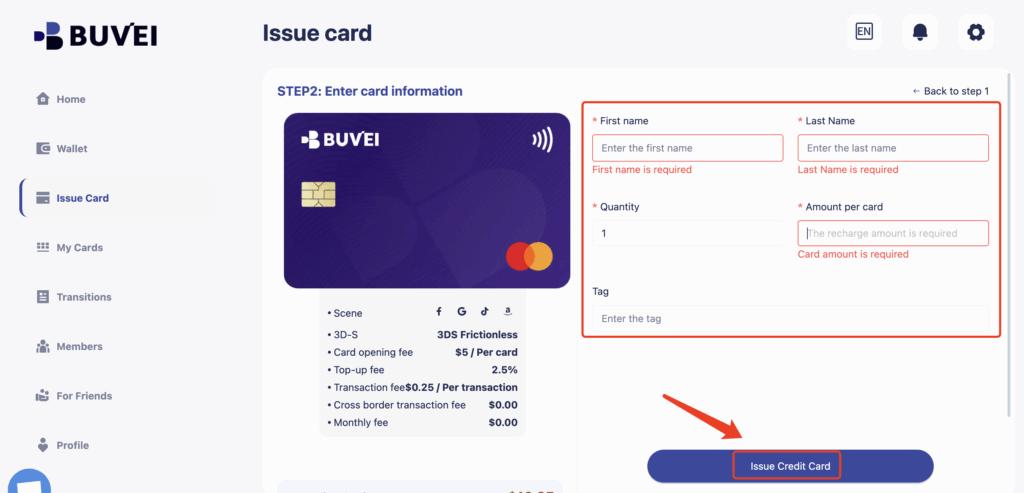
Step 4: Create a Virtual Card
Now generate a billing card:
Open the Cards tab
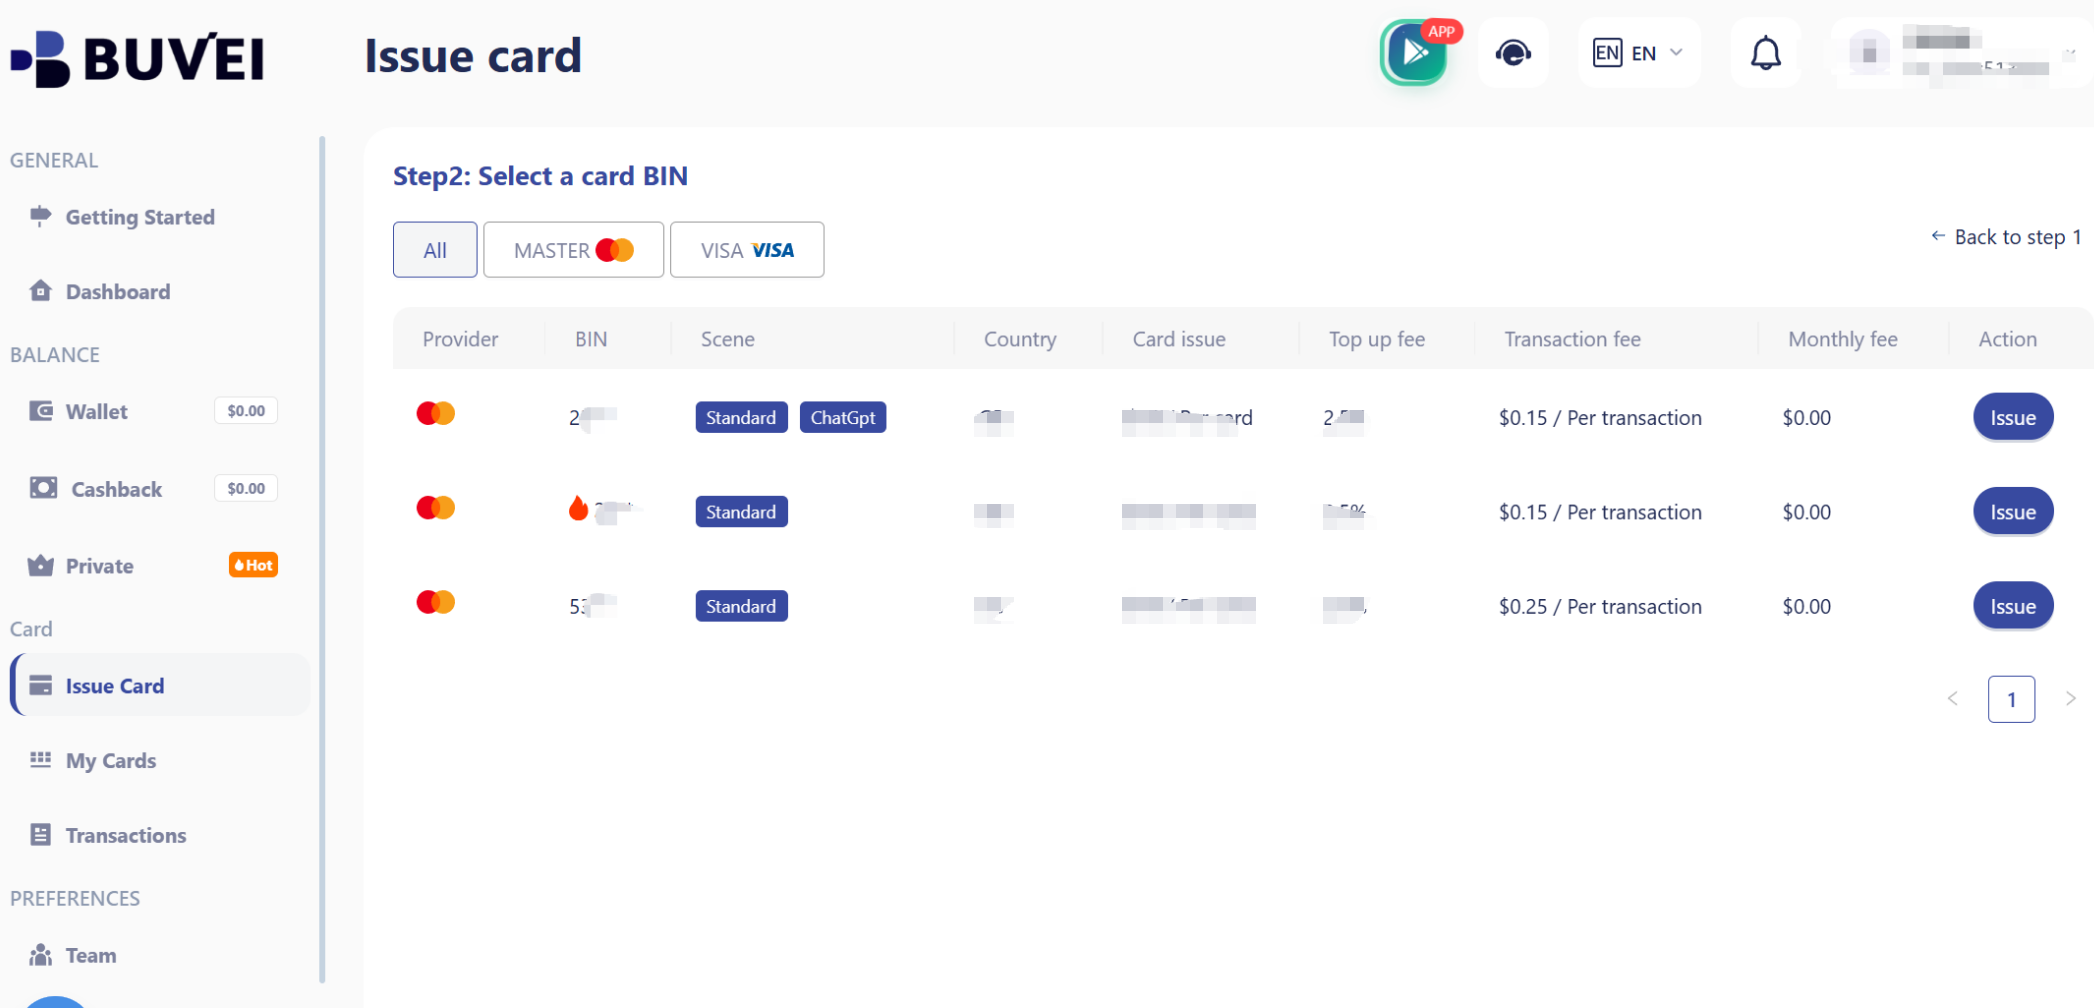
Select your preferred BIN region (US BIN is commonly recommended)
Choose card type
Set spending amount
Click Issue Card
After creation, go to My Cards to view:
-
Card number
-
Expiration date
-
CVV
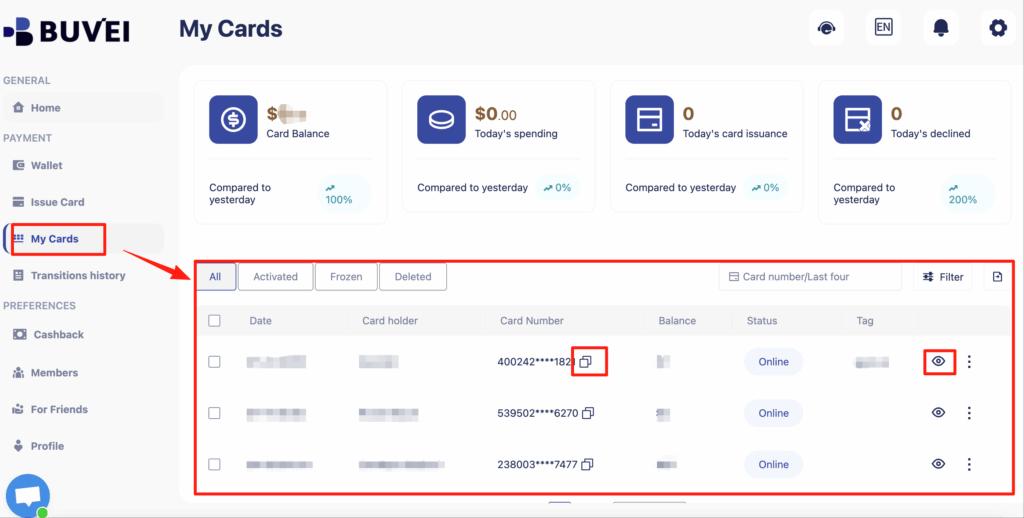
-
Transaction history
-
Recharge records
Step 5: Add the Card to Your Cloud Platform
In your cloud provider’s billing settings:
-
Navigate to Payment Methods
-
Select Add Card
-
Enter your virtual card details
-
Save and confirm
Your cloud account is now active.
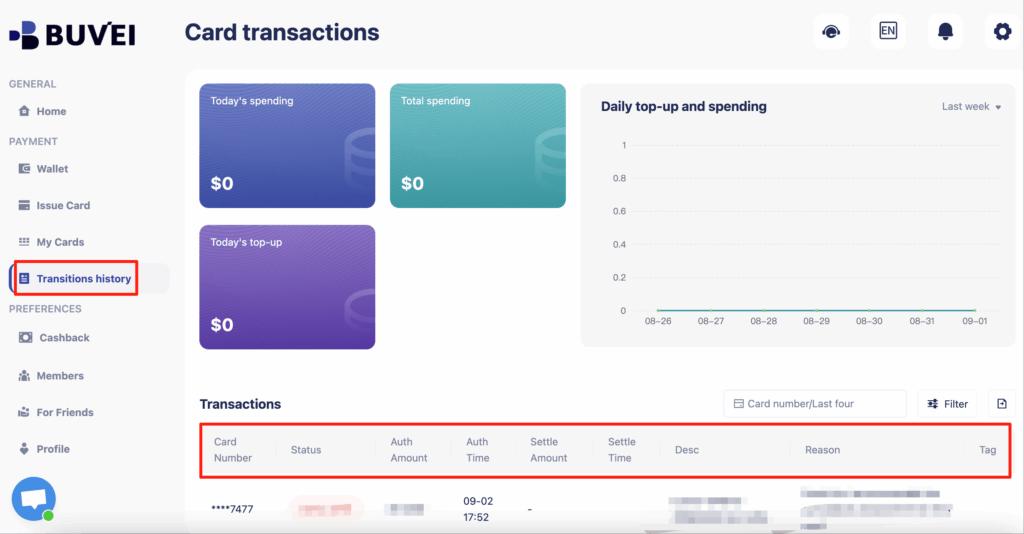
Managing Cloud Costs with Card Limits
One major advantage of virtual cards is spending control.
With Buvei, you can:
-
Set fixed card limits
-
Create separate cards per project
-
Monitor real-time transactions
-
Control team spending
-
Avoid unexpected billing spikes
This approach helps businesses maintain predictable infrastructure costs.
Best Practices for Cloud Billing
To ensure smooth operations:
-
Use a dedicated card for each major project
-
Set monthly spending caps
-
Monitor usage regularly
-
Keep backup cards available
-
Review transaction logs in the dashboard
Structured billing improves financial clarity and operational stability.

Conclusion
Creating a cloud account without a personal credit card is entirely possible when using virtual card solutions.
By combining:
-
USDT funding
-
Multi-BIN virtual cards
-
Transparent fee structures
-
Spending control features
Platforms like Buvei provide a practical infrastructure for cloud billing management.
This approach allows teams and businesses to separate personal finances from operational expenses while maintaining secure and compliant payment processes.