Buying and renewing domains on Hostinger is usually simple—until your credit card fails. Many users face declines due to regional restrictions, bank blocks, or lack of international cards. That is why more people now use crypto-funded virtual cards as a reliable workaround.
This guide shows you exactly how to use crypto to pay for Hostinger domains step by step.
Hostinger Payment Methods Explained
Hostinger currently supports the following payment methods:
-
Credit and debit cards (Visa, Mastercard)
-
PayPal (limited regions)
-
Google Pay / Apple Pay (depending on country)
What Hostinger does not support:
-
Direct crypto payments (no BTC, no USDT checkout option)
This means if you hold crypto but no working international card, you need an alternative method.
Crypto Workarounds for Hostinger Domain Purchases
The most practical workaround is simple:
Crypto → Virtual Card → Pay Hostinger normally
Instead of trying to force Hostinger to accept crypto, you use crypto to fund a virtual Visa/Mastercard that Hostinger already accepts.
This approach allows you to:
-
Pay for domains using USDT
-
Avoid local bank restrictions
-
Use separate cards for different projects
-
Reduce payment failure risk
-
Control renewal budgets more easily
Platforms like Buvei are designed specifically for this workflow.
Creating a Buvei Virtual Card Using Crypto
Buvei allows you to fund your account with USDT and issue virtual cards instantly.
Follow this exact setup.
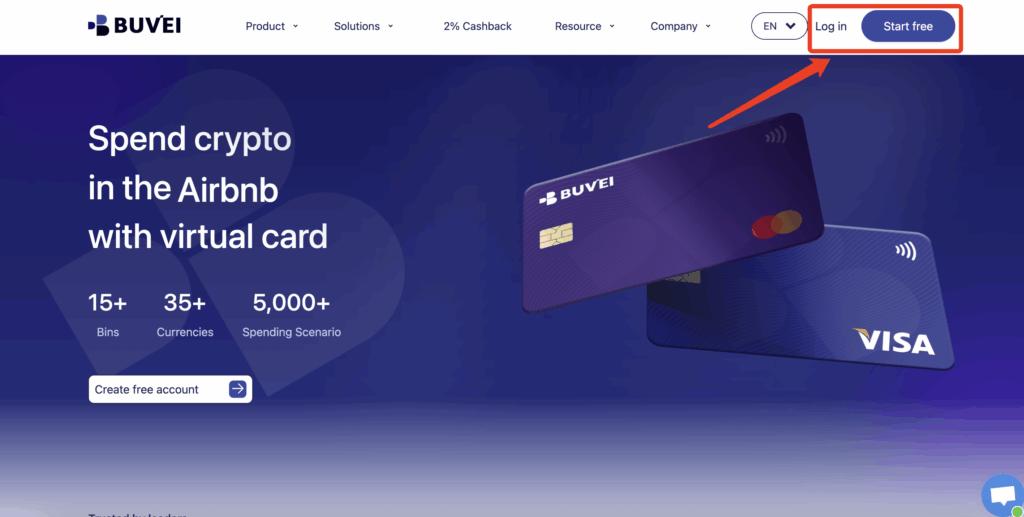
Step 1: Register a Buvei Account
Visit https://buvei.com and create a free account.
After completing email verification, log in to your Buvei dashboard.
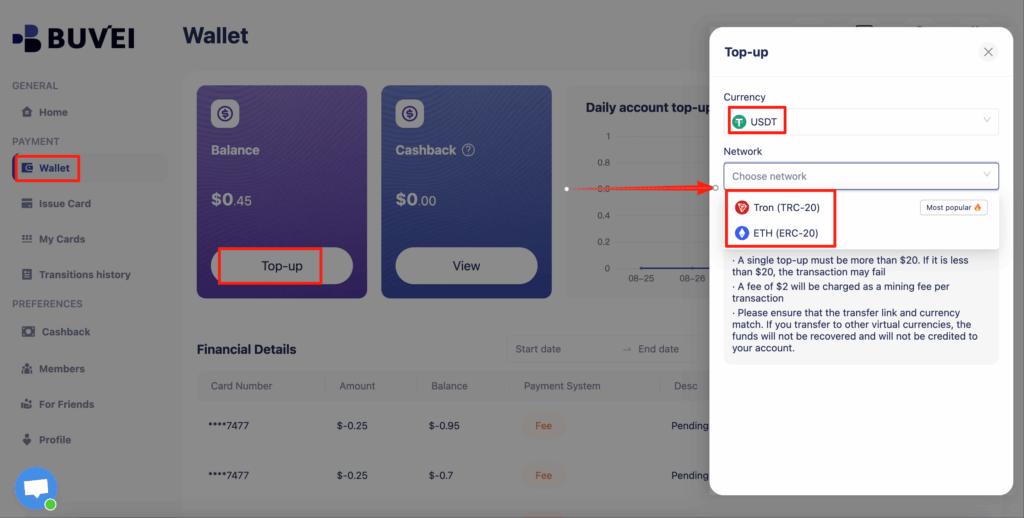
Step 2: Fund Your Account
Go to the Wallet tab.
Top up using USDT (TRC20 or ERC20).
You will receive a unique deposit address.
Send your funds to this address.
After confirmation, your balance will appear in your wallet and be available immediately.
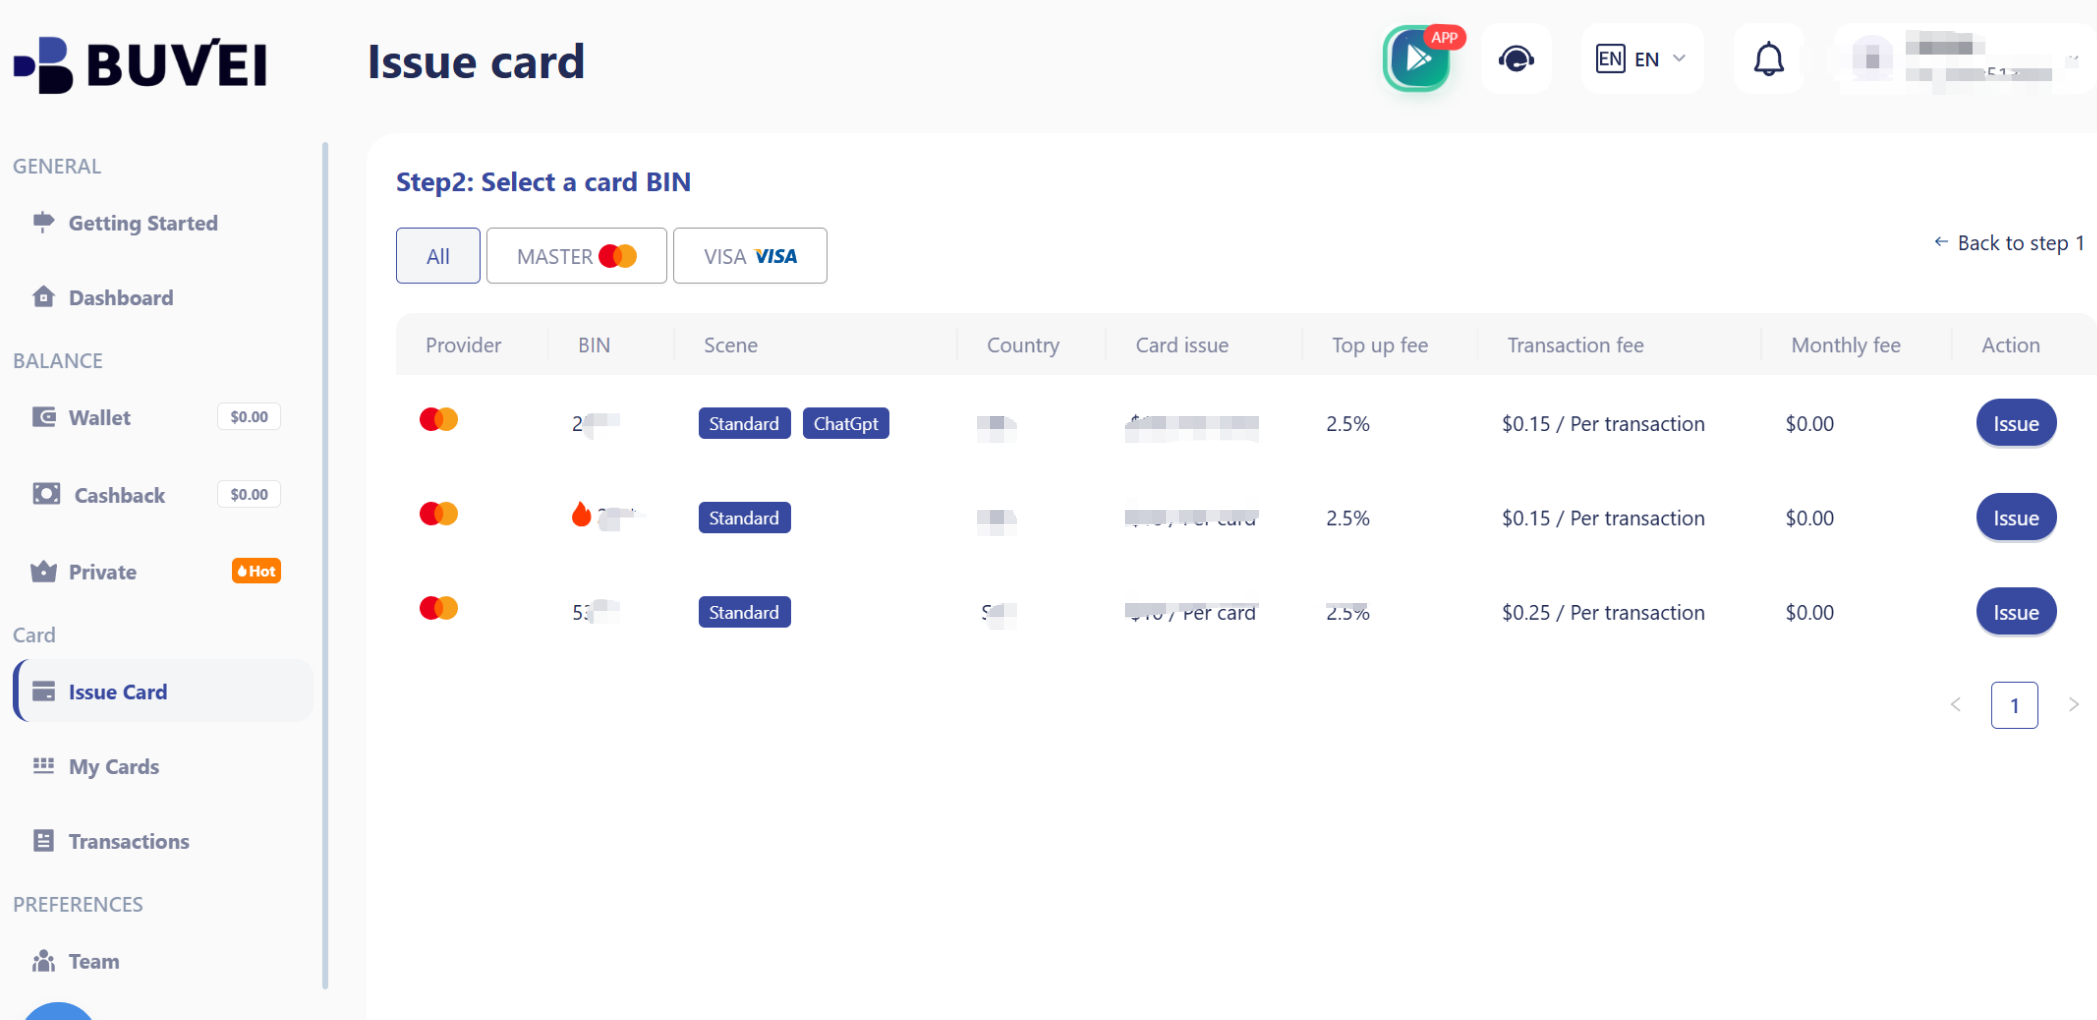
Step 3: Create a Virtual Card
Go to the Cards tab.
Choose your preferred BIN region (US BIN is recommended for higher approval rates).
Select your card type.
Click create.
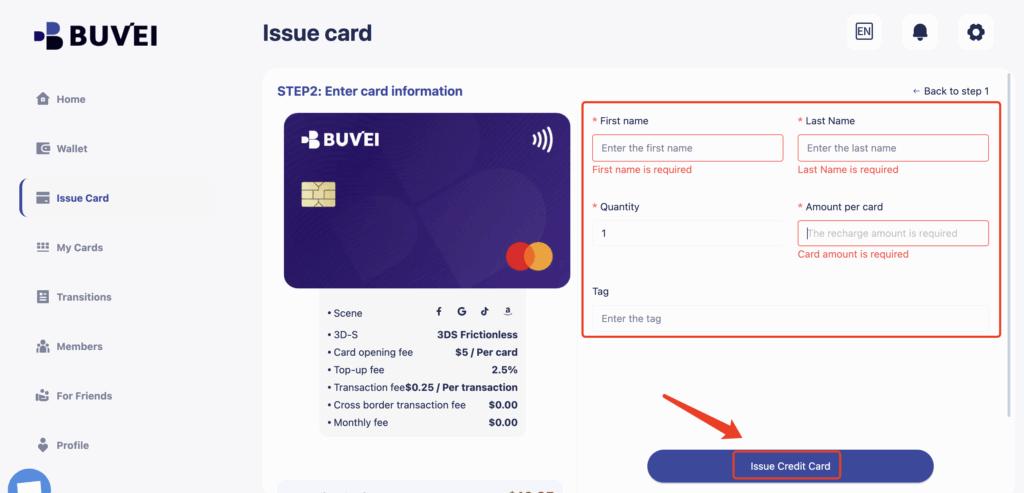
Fill in the card details, including card name, amount, and number of cards.
Click issue card.
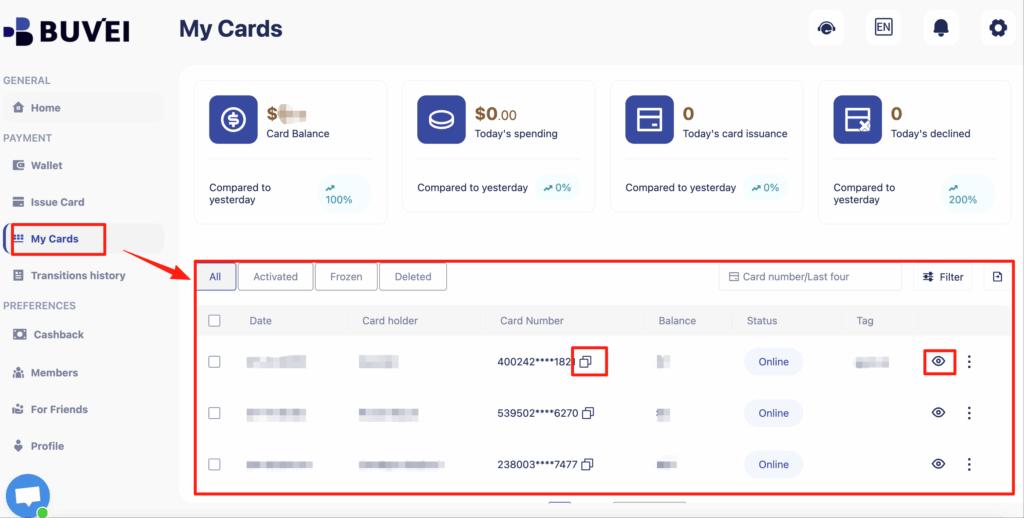
After creation, go to My Cards to view:
-
Card number
-
Expiry date
-
CVV
-
Card balance
-
Transaction history
Your virtual card now works like a normal Visa or Mastercard.
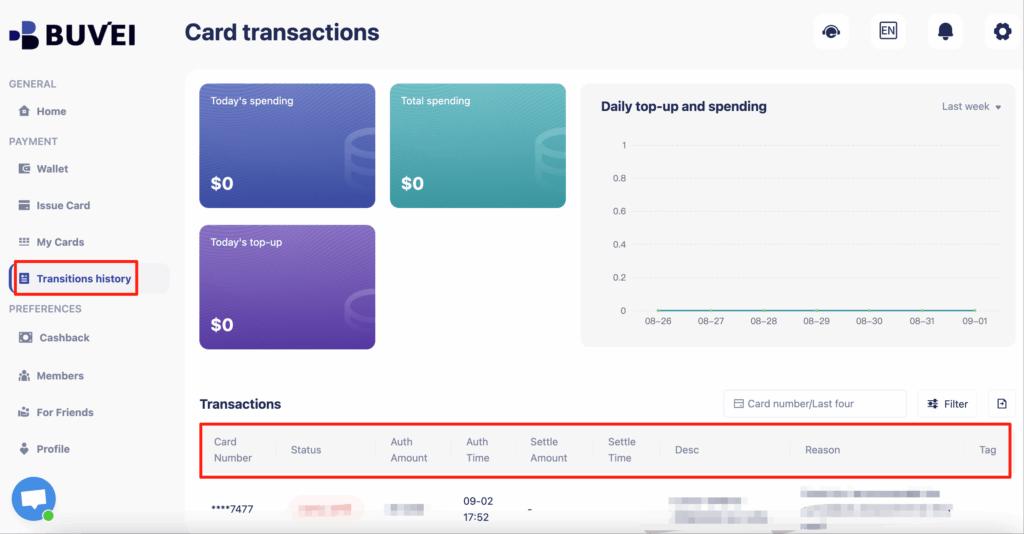
Auto-Renewal Setup Using Virtual Cards
Domains expire if renewals fail. Virtual cards actually make renewals safer if configured correctly.
Best practices:
-
Create one card dedicated only for domains
-
Load enough balance to cover 1–2 years of renewals
-
Enable auto-renew inside Hostinger
-
Monitor the card balance monthly
Many users create:
-
One card for domains
-
One card for hosting
-
One card for client projects
This structure reduces risk and improves financial organization.
Common Payment Issues & Fixes
If your payment fails, these are the most common reasons:
Insufficient balance
Always keep extra funds beyond the purchase price.
BIN mismatch issues
Using US BIN virtual cards usually produces higher approval rates.
Too many rapid attempts
Avoid retrying payments too frequently within minutes.
Suspicious billing behavior
Use consistent IP/device when checking out, especially for first-time payments.
Using Buvei helps reduce many of these issues because you control the card limits, balance, and structure directly.
Final Thoughts
Hostinger does not accept crypto directly, but you can still pay easily using crypto-funded virtual cards.
With the right setup, Buvei allows you to:
-
Convert USDT into working virtual cards
-
Pay Hostinger without a traditional bank
-
Protect renewals from failures
-
Manage multiple domains cleanly
For domain investors, developers, and international users, this approach is often more reliable than local bank cards.