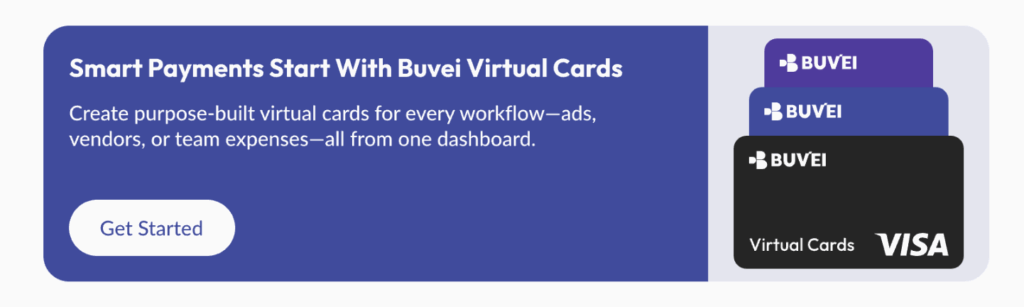
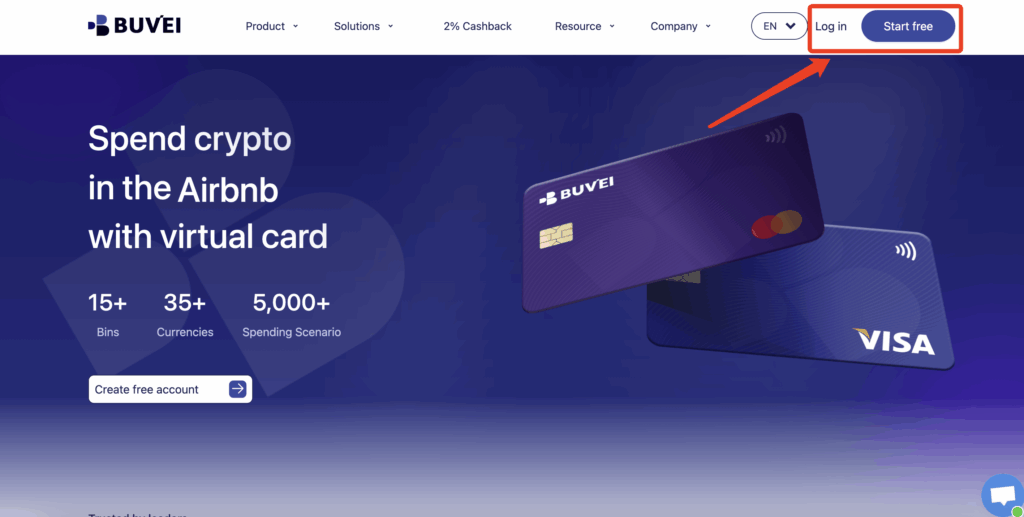
In today’s streaming world, Netflix remains a top choice for global entertainment. But for many users—especially digital nomads, students abroad, and privacy-conscious viewers—traditional card payments can be limiting or risky. That’s where Buvei’s virtual cards come in.
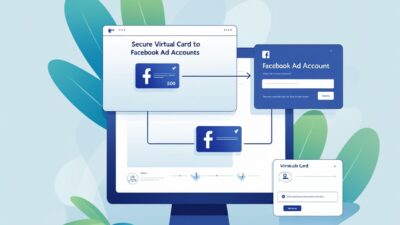
Buvei offers secure, multi-currency virtual cards that allow you to subscribe to services like Netflix without exposing your personal bank account or primary credit card.
Why Use a Virtual Card for Netflix?
Using a Buvei virtual card gives you:
-
Better control over recurring charges
-
Enhanced security with no exposure of your real card
-
Pause or delete the card any time to stop billing instantly
-
Real-time transaction alerts
Whether you're watching on your smart TV, mobile, or laptop—this method is fast, flexible, and smart.
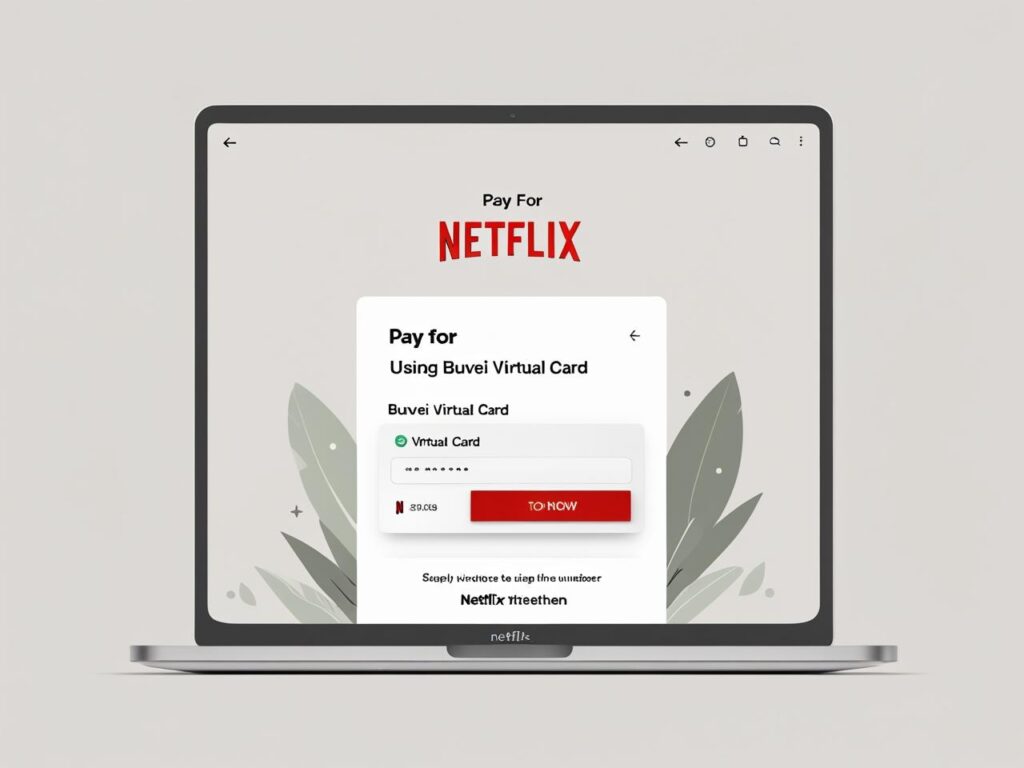
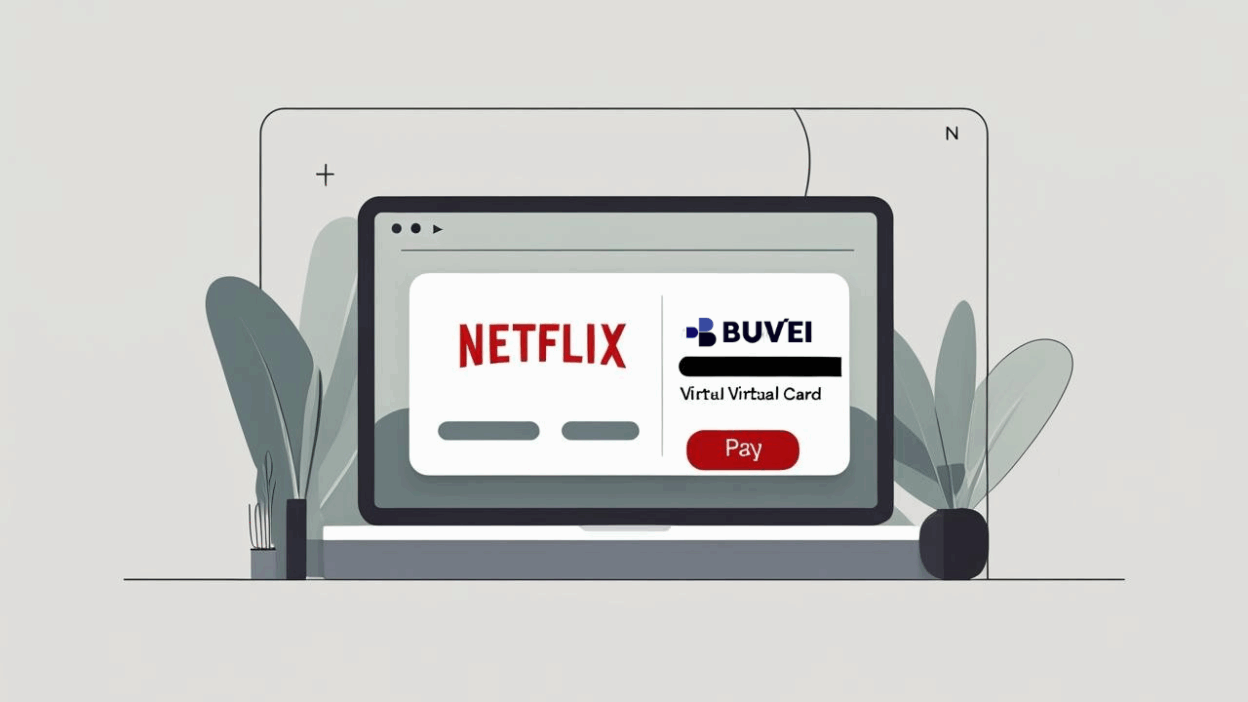
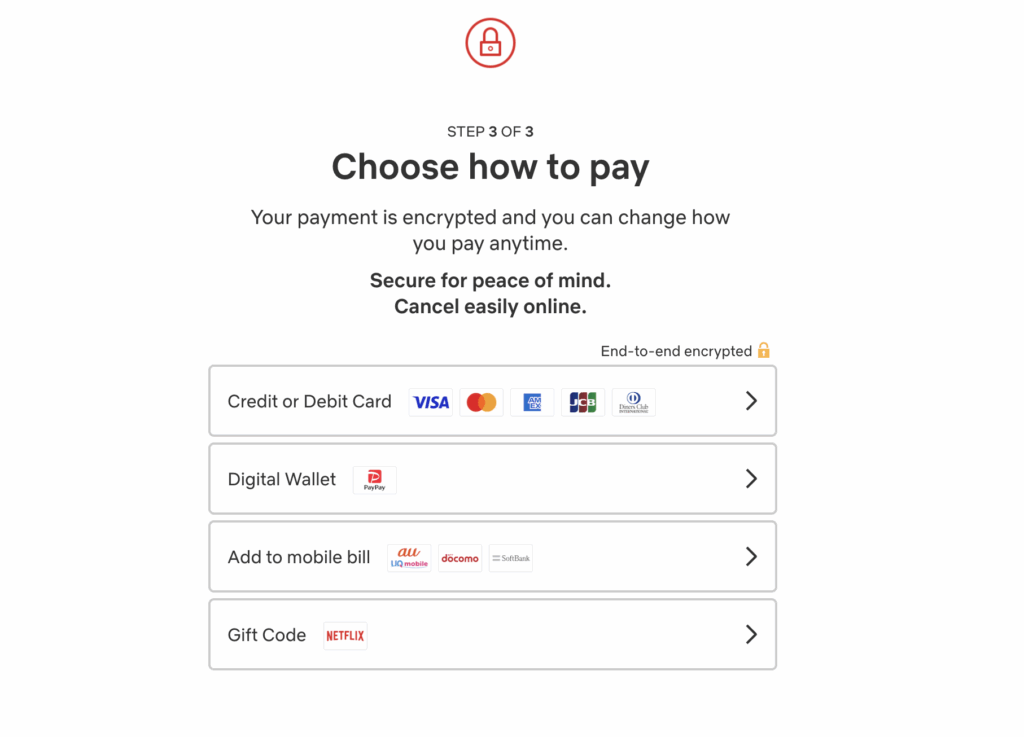
Step 1: Add Your Buvei Virtual Card to Netflix
Once your virtual card is created and active, head to your Netflix account settings:
-
Visit Netflix.com

-
Go to Account > Manage Payment Info
-
Click Add Payment Method
-
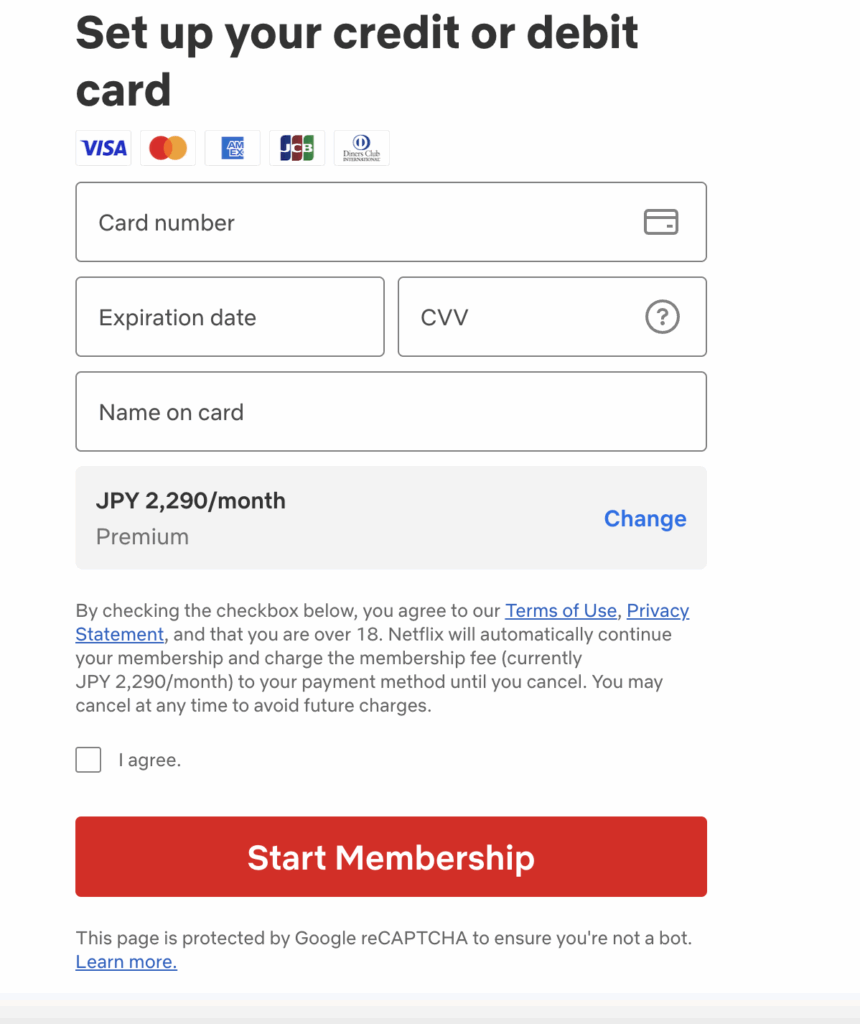
Enter your Buvei virtual card details:
-
-
Card number
-
Expiration date
-
CVV security code
-
Name on card (optional but ideally matches Netflix account name)
-
-
-
Click Submit
Netflix will now charge your Buvei card for your subscription.
Step 2: Set Card Controls and Alerts (Recommended)
To avoid unexpected charges:
-
Set a monthly limit (e.g., $15)
-
Enable auto-expiry after 1–3 billing cycles
This ensures full visibility and control of your recurring payments.
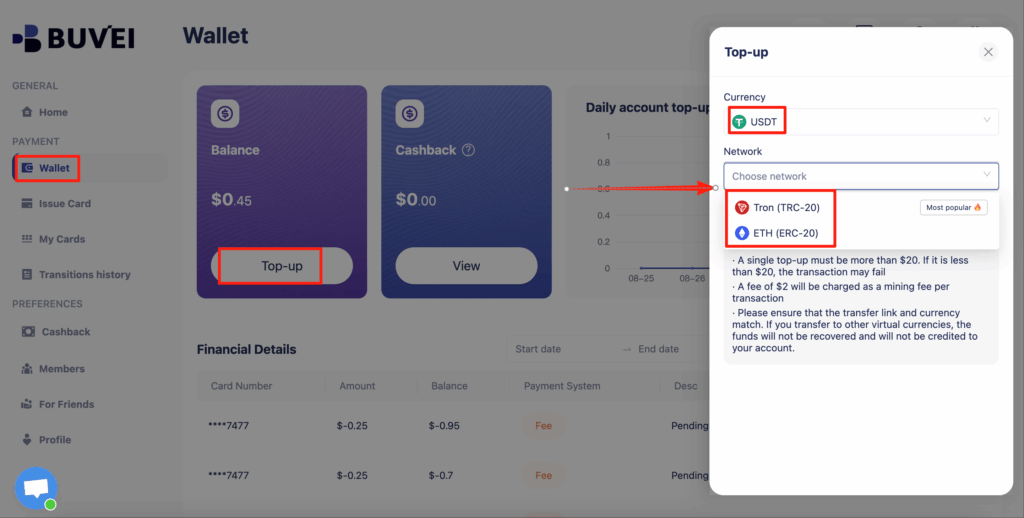
Step 3: Register & Fund Your Buvei Wallet
If you're new to Buvei, here’s how to start:
-
- visit https://buvei.com and create a free account.
- After email verification, log in to access the Buvei dashboard.
- Navigate to the Wallet tab and top up using supported stablecoins like USDT (TRC20/ERC20). You’ll receive a unique address—copy it and send your funds.
- Once confirmed, your balance will appear in the wallet for immediate use.
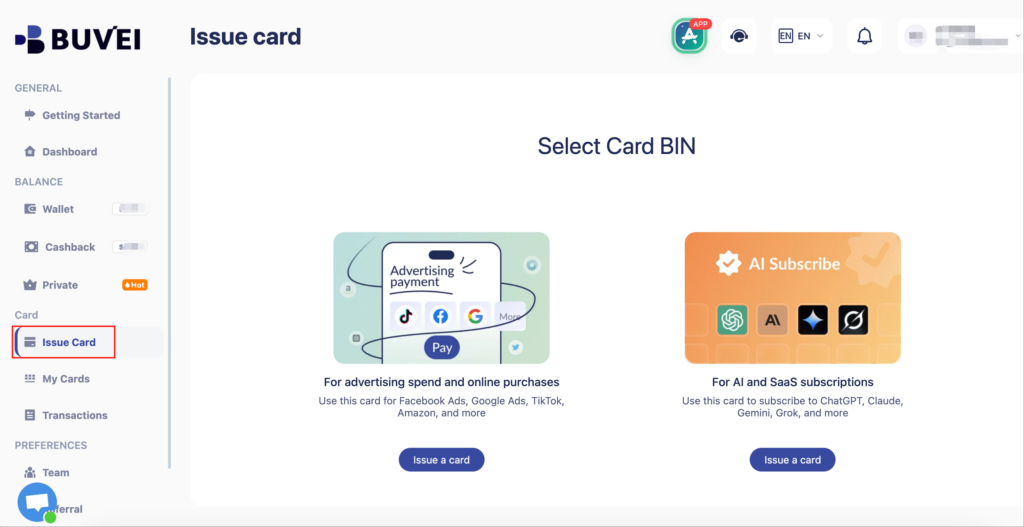
Create a Virtual Card
-
Go to the Card tab
-
Choose your preferred BIN region
-
Select your card type (Visa/Mastercard)
- Click Issue
- Fill in the virtual card details, including name, amount, and number of cards.
-
Click Issue Card
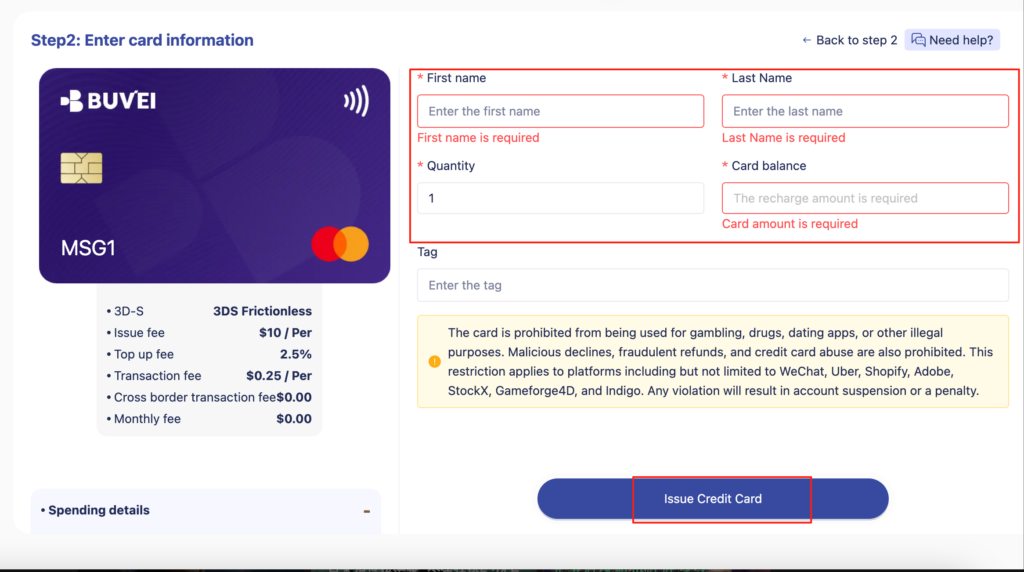
Once created, navigate to My Cards to access your card details:
-
Card Number
-
Expiration Date
-
CVV
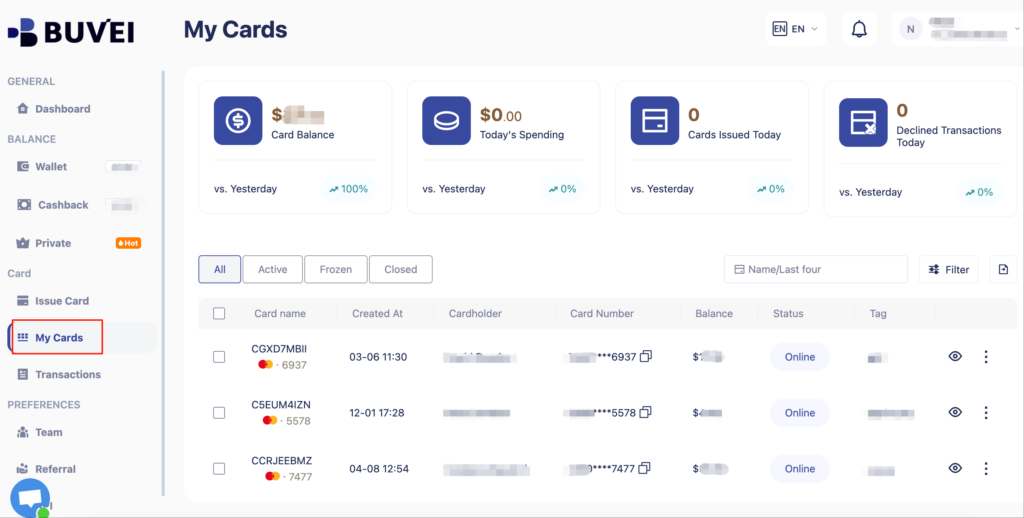
- On this page, users can view an overview of their virtual card top-ups and spending, and check all transaction details.
![]()
You can now use this card for Netflix and other services like Spotify, Amazon, and Apple TV+.
Benefits of Using Buvei Virtual Cards for Netflix
-
No more billing surprises: Prevent accidental upgrades or hidden fees
-
Total flexibility: Cancel or pause cards anytime
-
Improved security: No real card info exposed
-
Easy bookkeeping: See exactly how much is being spent on Netflix
Whether you’re managing personal streaming or handling family or team entertainment budgets, Buvei gives you a better way to pay.
Frequently Asked Questions (FAQ)
Q1: How do I cancel Netflix charges if I stop using the service?
A: Simply pause or delete the virtual card linked to Netflix in your Buvei dashboard. Netflix won’t be able to charge your card afterward.
Q2: What if the Netflix payment fails?
A: Make sure the card has sufficient balance, is active, and the billing address matches. If issues persist, contact Buvei support.
Q3: Can I use one virtual card for multiple services?
A: It’s technically possible, but we recommend using one card per service for easier tracking and greater security.
Q4: Does Buvei support auto-renewals on Netflix?
A: Yes. Buvei cards fully support recurring payments and can be configured for monthly auto-renewals.
Want to discover more ways to optimize your online payments and protect your financial data? Check out: 👉 https://buvei.com/