Managing domain and hosting payments on OVHcloud can sometimes be challenging—especially for users without access to reliable traditional credit cards. Payment declines, regional restrictions, and billing limitations are common issues.
That’s why many users are turning to crypto virtual cards OVH payments as a flexible and reliable alternative. With the right setup, you can fund your card using crypto and pay for domains or hosting seamlessly.
In this guide, we’ll explain how OVH billing works, why payments fail, and how to complete transactions successfully using virtual cards.
OVH Domain Billing & Card Restrictions
Understanding OVH’s payment system is essential.
Supported Payment Methods
- Credit and debit cards
- PayPal (in some regions)
- Bank transfers
Common Restrictions
- Regional limitations on card acceptance
- Strict fraud prevention systems
- Recurring billing requirements for renewals
Key Challenge
Some users face declines due to:
- Unsupported card types
- Billing address mismatches
- Currency or region issues
Paying OVH Domains Without a Traditional Credit Card
If you don’t have access to a traditional bank card, alternatives exist.
Crypto-Based Workaround
Instead of paying directly with crypto, users can:
- Fund a virtual card with crypto
- Use the card like a standard payment method
Benefits
- Bypass banking limitations
- Enable global payments
- Maintain privacy and flexibility
This approach works well for domain investors and developers.
How Buvei Crypto Virtual Cards Work for OVH
Buvei provides a practical solution for OVH payments.
Crypto Funding
- Deposit USDT (TRC20/ERC20)
- Fast and low-cost transactions
Multi-BIN Support
- Improves acceptance on OVH
Multi-Currency Capability
- Supports international billing
Flexible Card Creation
- Create dedicated cards for domains or hosting
- Set spending limits per card
Real-Time Monitoring
- Track transactions and renewals
This setup helps ensure stable payments.
Step-by-Step: Completing OVH Domain Payment
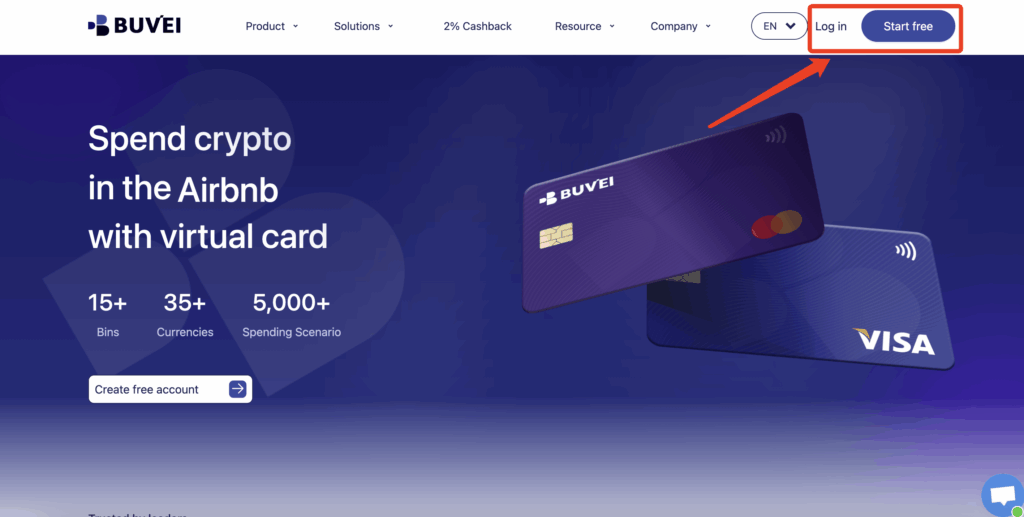
Step 1 — Register on Buvei
- Visit https://buvei.com
- Create an account
- Verify your email
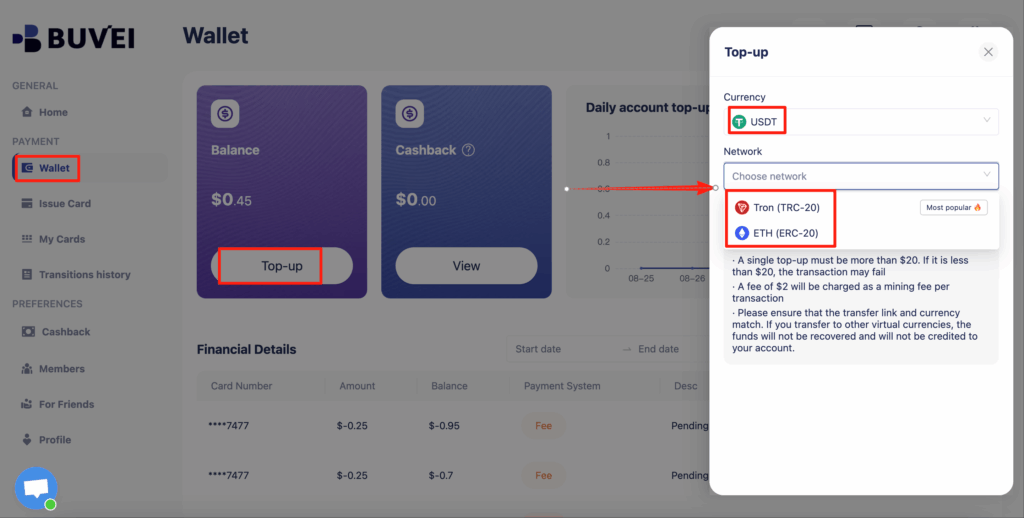
Step 2 — Fund Your Wallet
- Deposit USDT (TRC20/ERC20)
- Confirm the transaction
Step 3 — Create a Virtual Card
- Go to the Cards section
Select a BIN region (EU or US recommended)
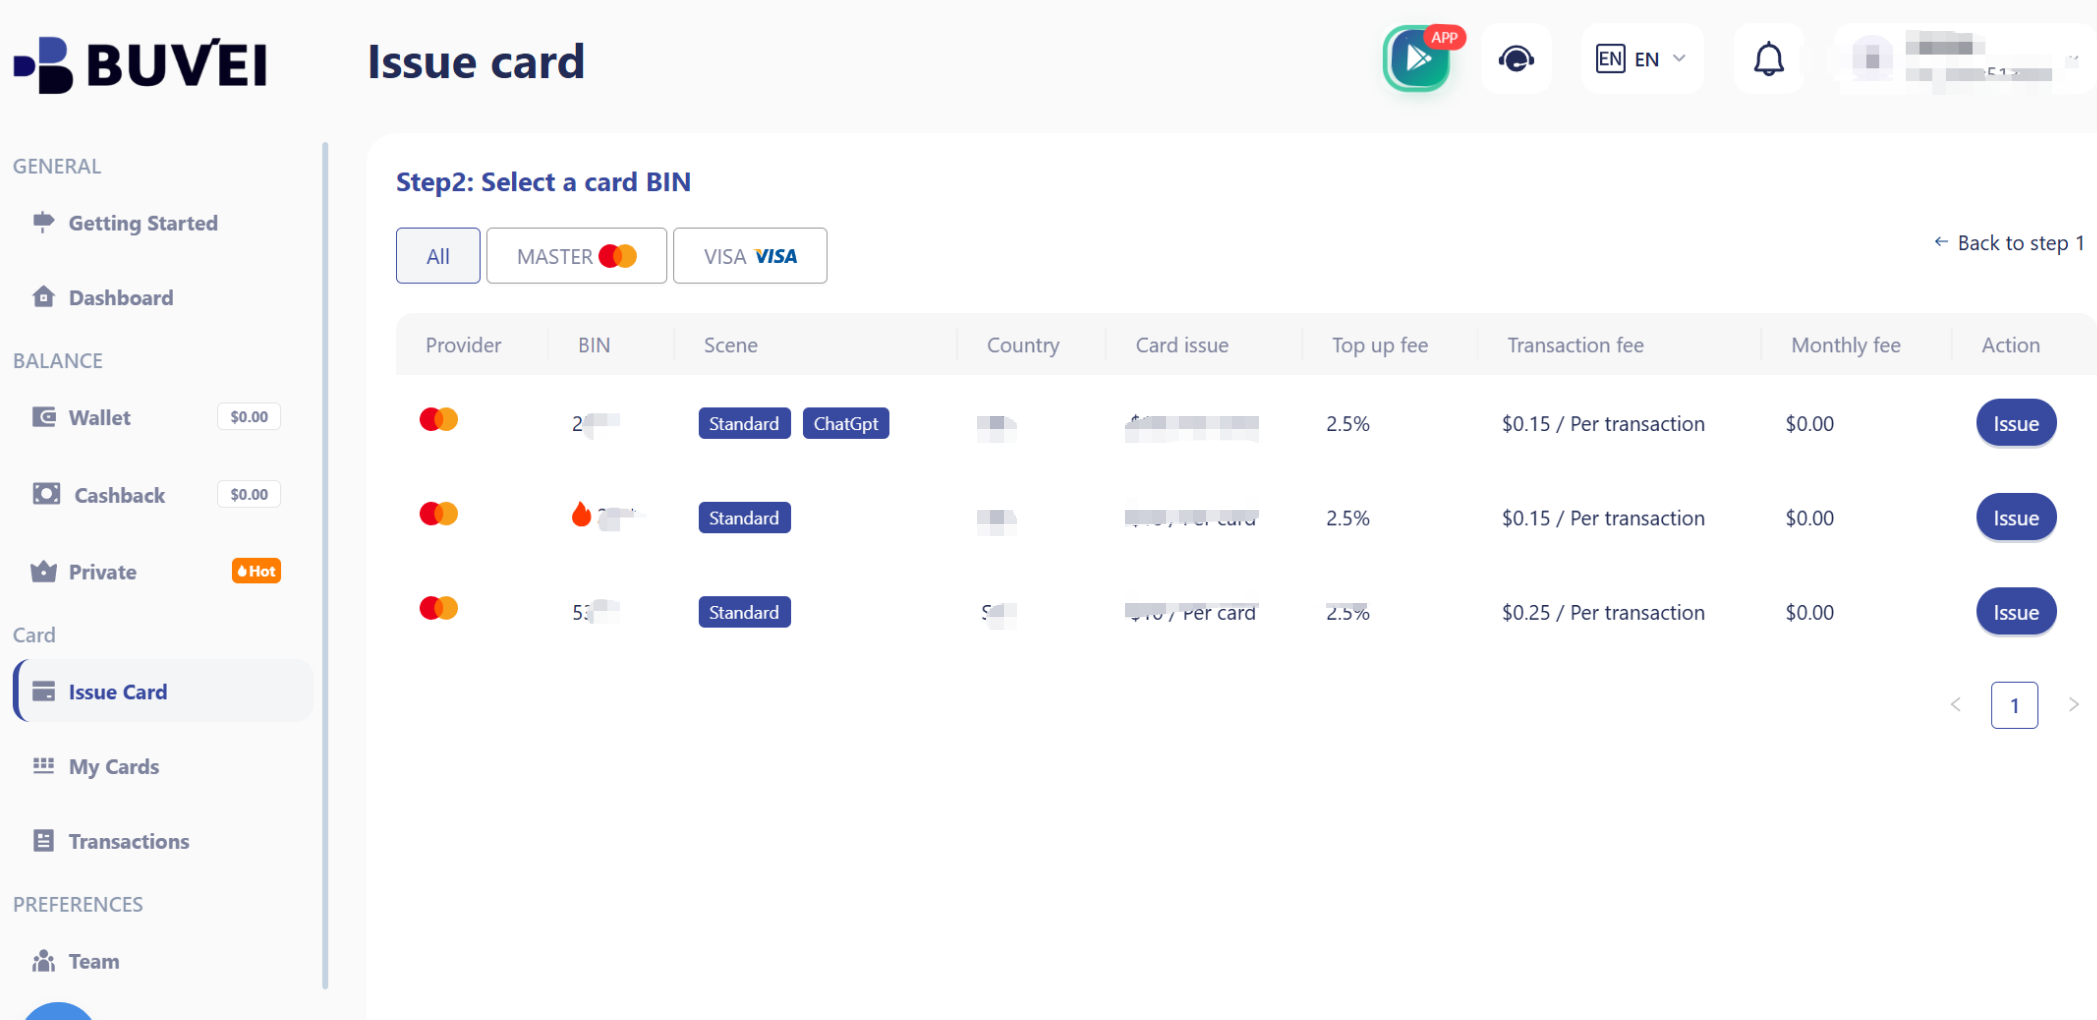
Set spending limits
Issue the card

After issuance, visit My Cards to view:
-
card number
-
expiration date
- CVV

You can also track payments, monitor renewals, and manage multiple cards from the dashboard.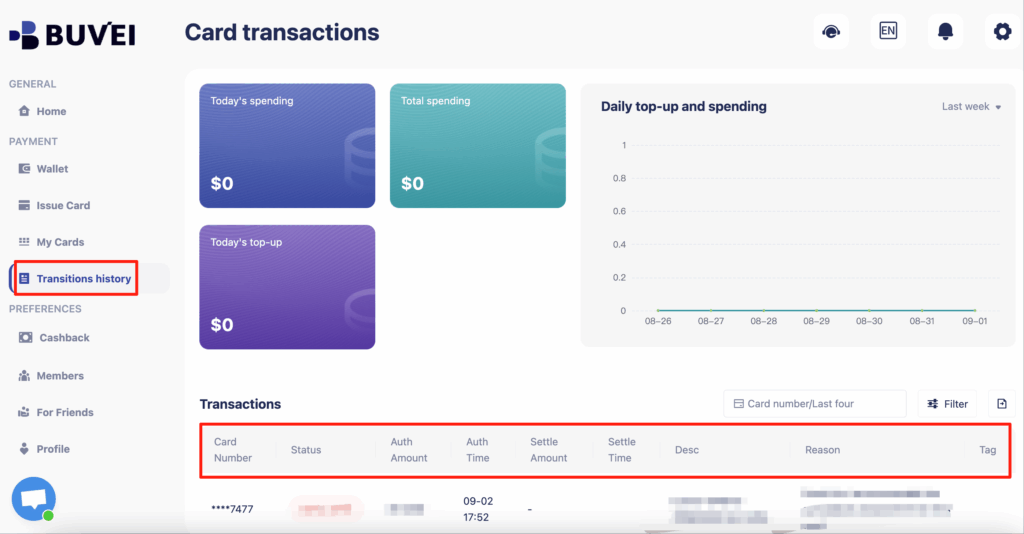
Step 4 — Add Card to OVH
- Log in to your OVH account
- Go to billing/payment settings
- Add your virtual card
Step 5 — Complete Payment
- Purchase or renew your domain
- Confirm successful transaction
Preventing Payment Declines & Account Flags
To ensure smooth transactions, follow these best practices.
Match Billing Details
- Ensure name and address are consistent
Use a Dedicated Card
- One card per OVH account
Maintain Sufficient Balance
- Include buffer for renewals
Avoid Repeated Failed Attempts
- Fix issues before retrying
Choose the Right BIN Region
- EU BINs often work well for OVH
Scaling OVH Domain & Hosting Accounts Safely
For users managing multiple domains or hosting accounts, organization is key.
Use Multiple Cards
- Assign one card per domain or project
Set Budget Limits
- Control spending per account
Monitor Usage
- Track payments in real time
Separate Risk
- Prevent one failure from affecting all accounts
This approach is ideal for agencies, developers, and domain investors.

Final Thoughts
Paying for hosting and domains doesn’t have to be limited by traditional banking systems. Crypto virtual cards OVH users rely on today offer a flexible, scalable, and efficient alternative.
By using a properly configured OVH payment virtual card, you can avoid declines, manage multiple accounts, and ensure uninterrupted service. Platforms like Buvei make this process simple, enabling users to bridge crypto and traditional payments seamlessly in 2026.