Developers often rely on cloud services and APIs like OpenAI, AWS, and Google Cloud to power their projects. However, setting up billing can sometimes be a challenge, especially when traditional credit cards fail due to regional restrictions, declined transactions, or hidden fees.
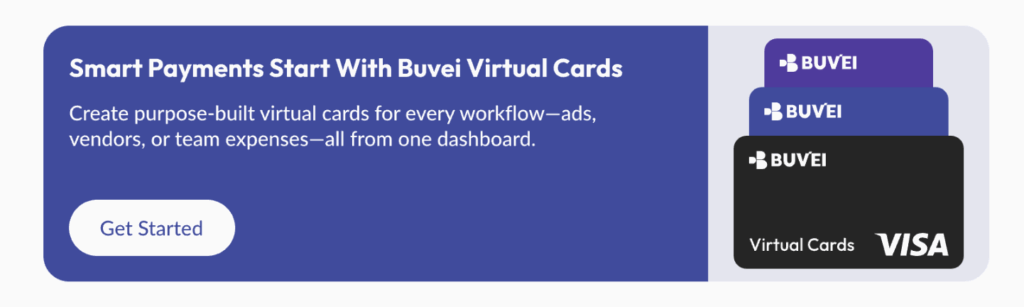
This is where virtual cards come in. Much like disposable, flexible payment tools, virtual cards allow developers to quickly set up accounts, manage costs, and protect financial information. In this tutorial, we’ll walk through how to set up virtual cards for developer accounts, and show how solutions like Buvei Virtual Cards make the process easier, faster, and more reliable.
Why Use Virtual Cards for Developer Accounts?
Virtual cards act like digital credit cards, but with enhanced control and security. For developers, they solve common payment problems:
-
Authorization success: Avoid payment declines caused by country or bank restrictions.
-
Cost control: Set limits to prevent unexpected charges from cloud services.
-
Security: Keep real banking information private when linking to multiple platforms.
-
Flexibility: Instantly create or cancel cards for testing different accounts.
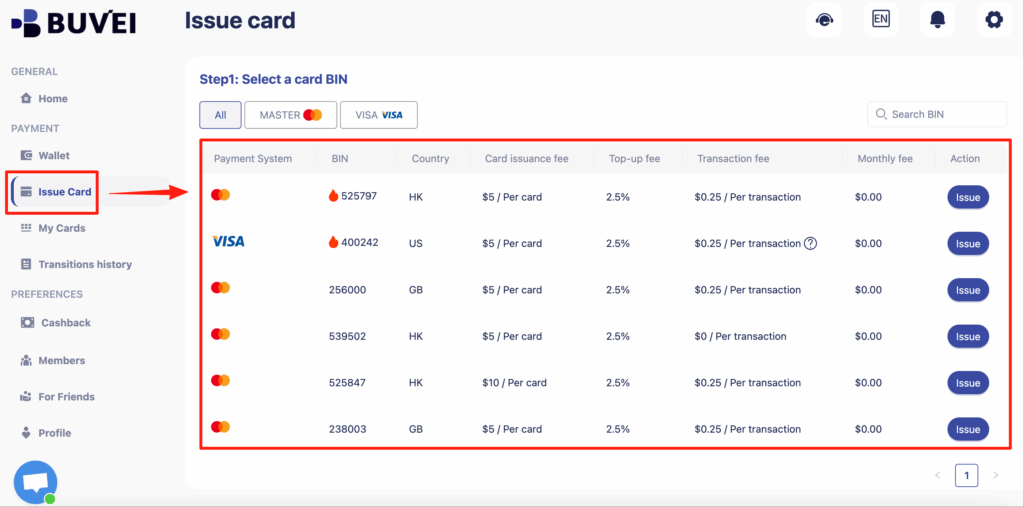
With providers like Buvei, developers also benefit from multiple BIN support, ensuring higher payment success rates across global platforms.
Setting Up a Virtual Card with Buvei
Getting started with Buvei is simple.
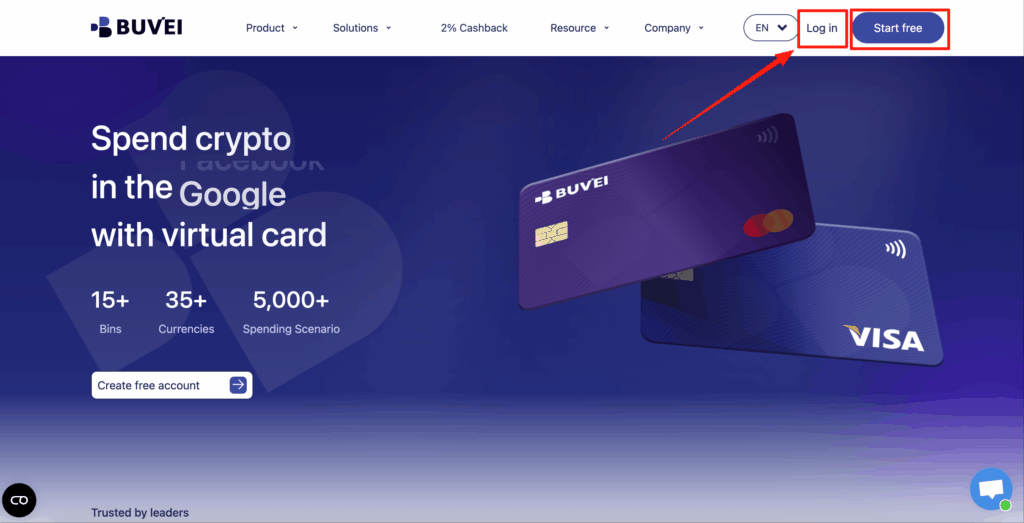
Step 1: Register an account
Sign up on Buvei’s platform. The process is quick and doesn’t require complex KYC.
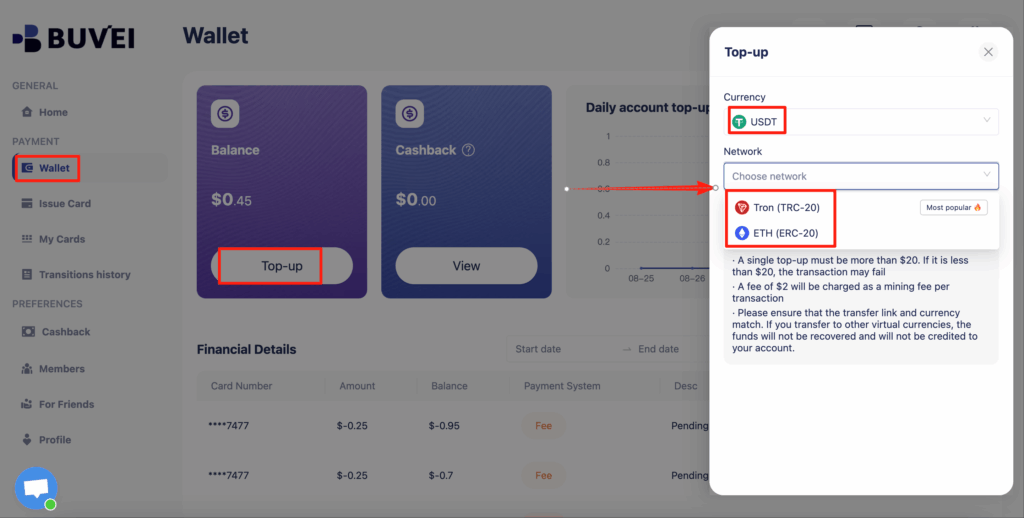
Step 2: Top up funds
Choose USDT (TRC20 or ERC20) for fast, low-cost funding. Buvei ensures your balance is available almost instantly.
Step 3: Create a virtual card
Within minutes, you can generate a virtual Visa or Mastercard. Customize spending limits or assign cards for specific services.
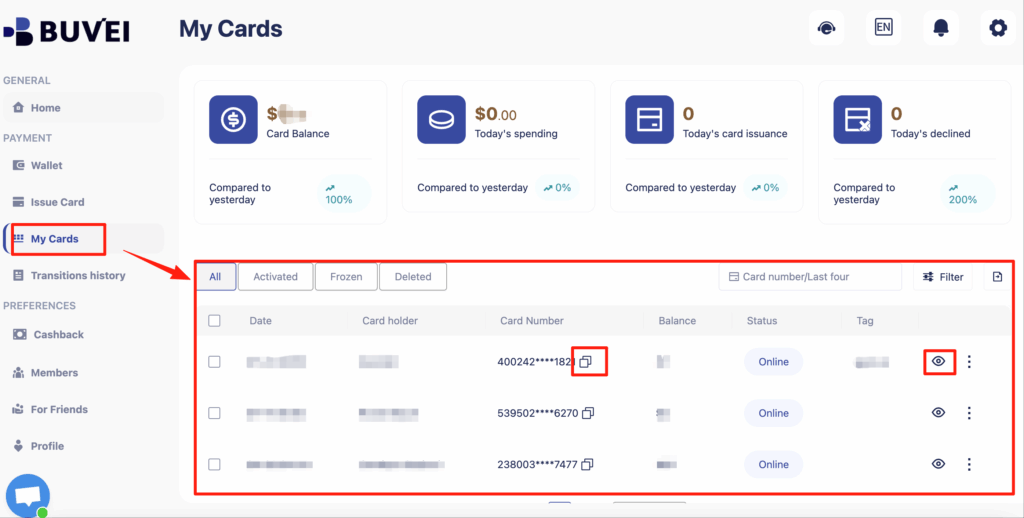
Step 4: Access card details
Once created, you’ll get card details (number, CVV, expiration) just like a regular credit card. These can now be linked to developer platforms.
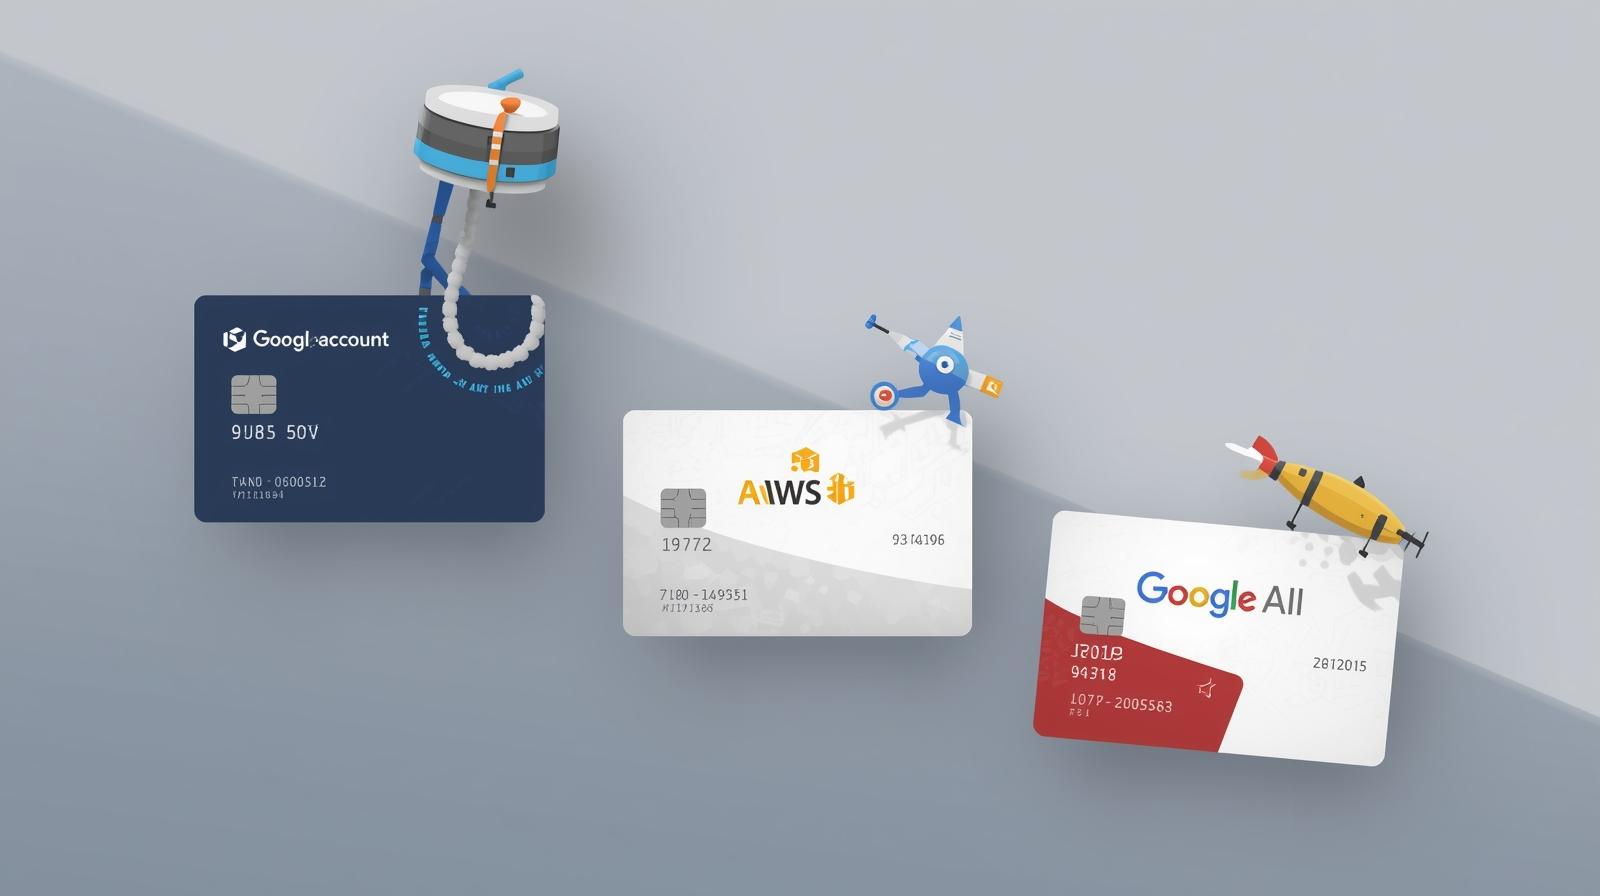
Linking Virtual Cards to Developer Accounts
OpenAI (API and ChatGPT Plus)
-
Log into your OpenAI account.
-
Go to Manage Account > Billing.
-
Select Add Payment Method and enter your Buvei virtual card details.
-
Save and verify — charges for API usage or ChatGPT Plus will now run through the virtual card.
AWS (Amazon Web Services)
-
Sign in to AWS Management Console.
-
Navigate to Billing > Payment Methods.
-
Click Add a card, then enter your Buvei card information.
-
Set it as the default method to ensure smooth auto-billing.
Google Cloud
-
Open Google Cloud Console and go to Billing > Payment Settings.
-
Choose Add Payment Method.
-
Input your Buvei virtual card details and confirm.
-
Google will run a small authorization (which will be released later) to verify the card.
Best Practices for Developers Using Virtual Cards
When managing multiple developer accounts or services, follow these best practices:
-
Set card limits: Avoid surprise charges from high API usage.
-
Use separate cards per service: Helps track expenses more clearly.
-
Enable batch management: Buvei supports multi-account issuance, making it easy to manage different project environments.
-
Monitor in real time: Always check your Buvei dashboard for transactions and balances.
These steps ensure financial discipline while keeping your development projects running smoothly.

Summary
Using virtual cards for developer accounts provides developers with better payment success, stronger security, and more cost control.
Key takeaways:
-
Why Virtual Cards – Solve payment declines, protect privacy, and manage limits.
-
Setting Up Buvei Virtual Cards – Register, top up with USDT, and issue cards instantly.
-
Integration with Platforms – Easily link cards to OpenAI, AWS, and Google Cloud.
-
Best Practices – Use limits, separate cards, and batch management for efficiency.
With Buvei Virtual Cards, developers gain a fast, secure, and reliable way to pay for APIs, cloud services, and SaaS tools — without the headaches of traditional banking.
Ready to simplify your developer billing?
👉 Try Buvei Virtual Cards today and enjoy instant issuance, transparent fees, and global compatibility across platforms like OpenAI, AWS, and Google Cloud.