In recent years, demand for OpenAI’s tools has expanded well beyond developers. Startups, marketing teams, and independent creators now rely on subscriptions and API access as part of daily operations. With that growth, however, billing interruptions have become a recurring frustration.
This OpenAI billing guide explains how to use a virtual card for OpenAI payments, why payment failures happen, and how to set up a stable billing structure step by step. If you’ve encountered a declined charge or want to prevent one, the process below is designed to be practical and repeatable.

Understanding OpenAI’s Payment Requirements and Common Challenges
OpenAI processes payments as a recurring online subscription. That means your card must:
-
Support international online transactions
-
Allow recurring billing
-
Maintain sufficient available balance
-
Pass fraud and risk screening
In practice, several issues tend to arise:
-
Cross-border restrictions from issuing banks
-
Automatic blocks on “digital services” transactions
-
Failed renewals due to insufficient balance
-
Suspended accounts after repeated declines
An OpenAI payment declined fix often requires more than retrying the same card. Repeated failures can trigger additional verification checks, compounding the issue.
Why a Virtual Card for OpenAI Improves Billing Stability
For many users, switching to a dedicated virtual card resolves recurring billing problems.
A professional multi-BIN virtual card for SaaS billing offers:
-
Stable international routing (Visa/Mastercard)
-
Isolated spending limits
-
Reduced exposure of primary bank accounts
-
Compatibility with recurring subscriptions
Some providers, including Buvei, support global BIN regions and USDT-based top-ups, which can help users who experience frequent cross-border banking blocks.
Using a separate card for SaaS tools like OpenAI also simplifies accounting and usage tracking.
Step-by-Step: How to Set Up a Virtual Card for OpenAI
If you're looking for a clear process on how to pay for OpenAI with a virtual card, follow the steps below.
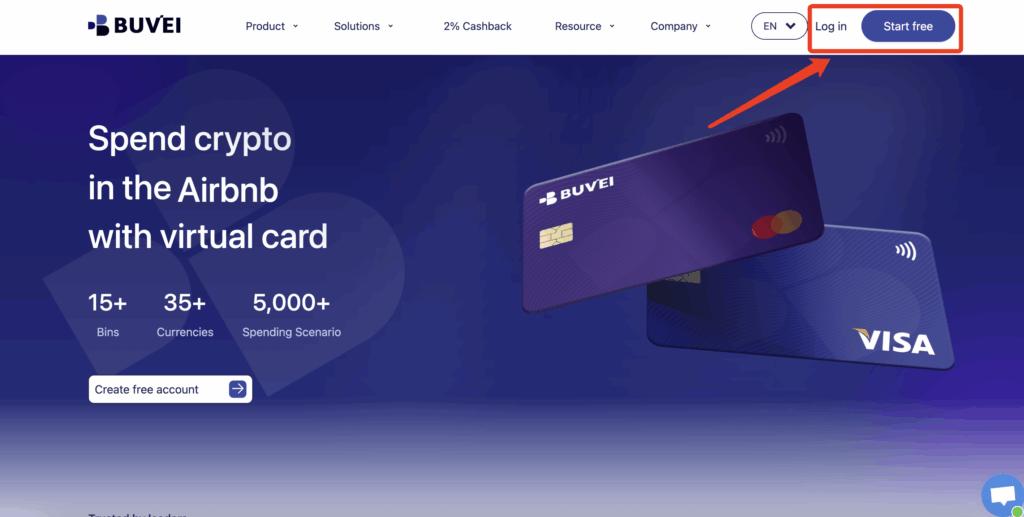
Step 1: Register a Buvei Account
-
Visit https://buvei.com
-
Create a free account
-
Complete email verification
-
Log in to access your dashboard
Registration is straightforward and provides immediate access to the wallet and card management interface.
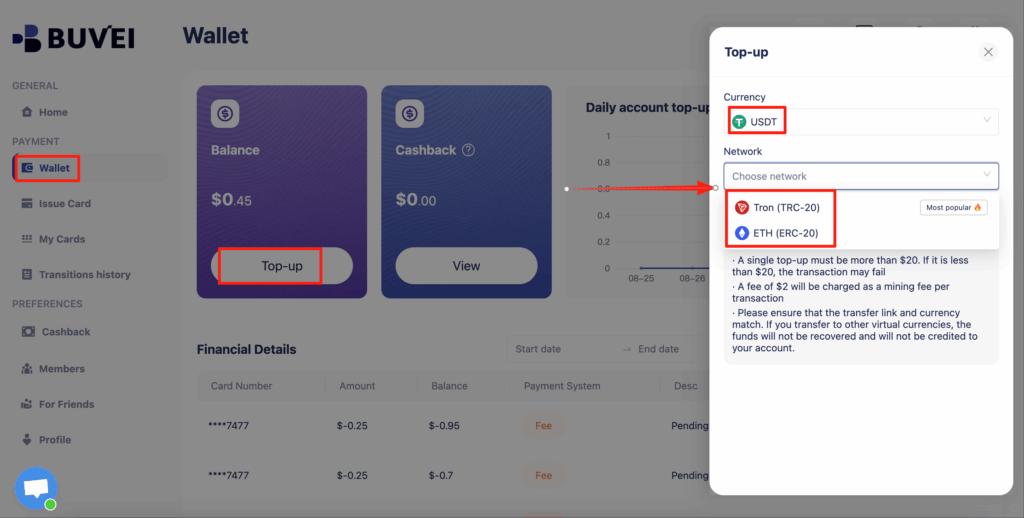
Step 2: Fund Your Wallet Using USDT
-
Go to the Wallet tab
-
Choose USDT (TRC20 or ERC20)
-
Copy your dedicated deposit address
-
Transfer USDT to that address
-
Wait for blockchain confirmation
Once confirmed, your balance appears in your Buvei wallet and is available for immediate use.
For users outside traditional banking systems, this USDT virtual card for subscriptions can significantly reduce delays tied to international transfers.
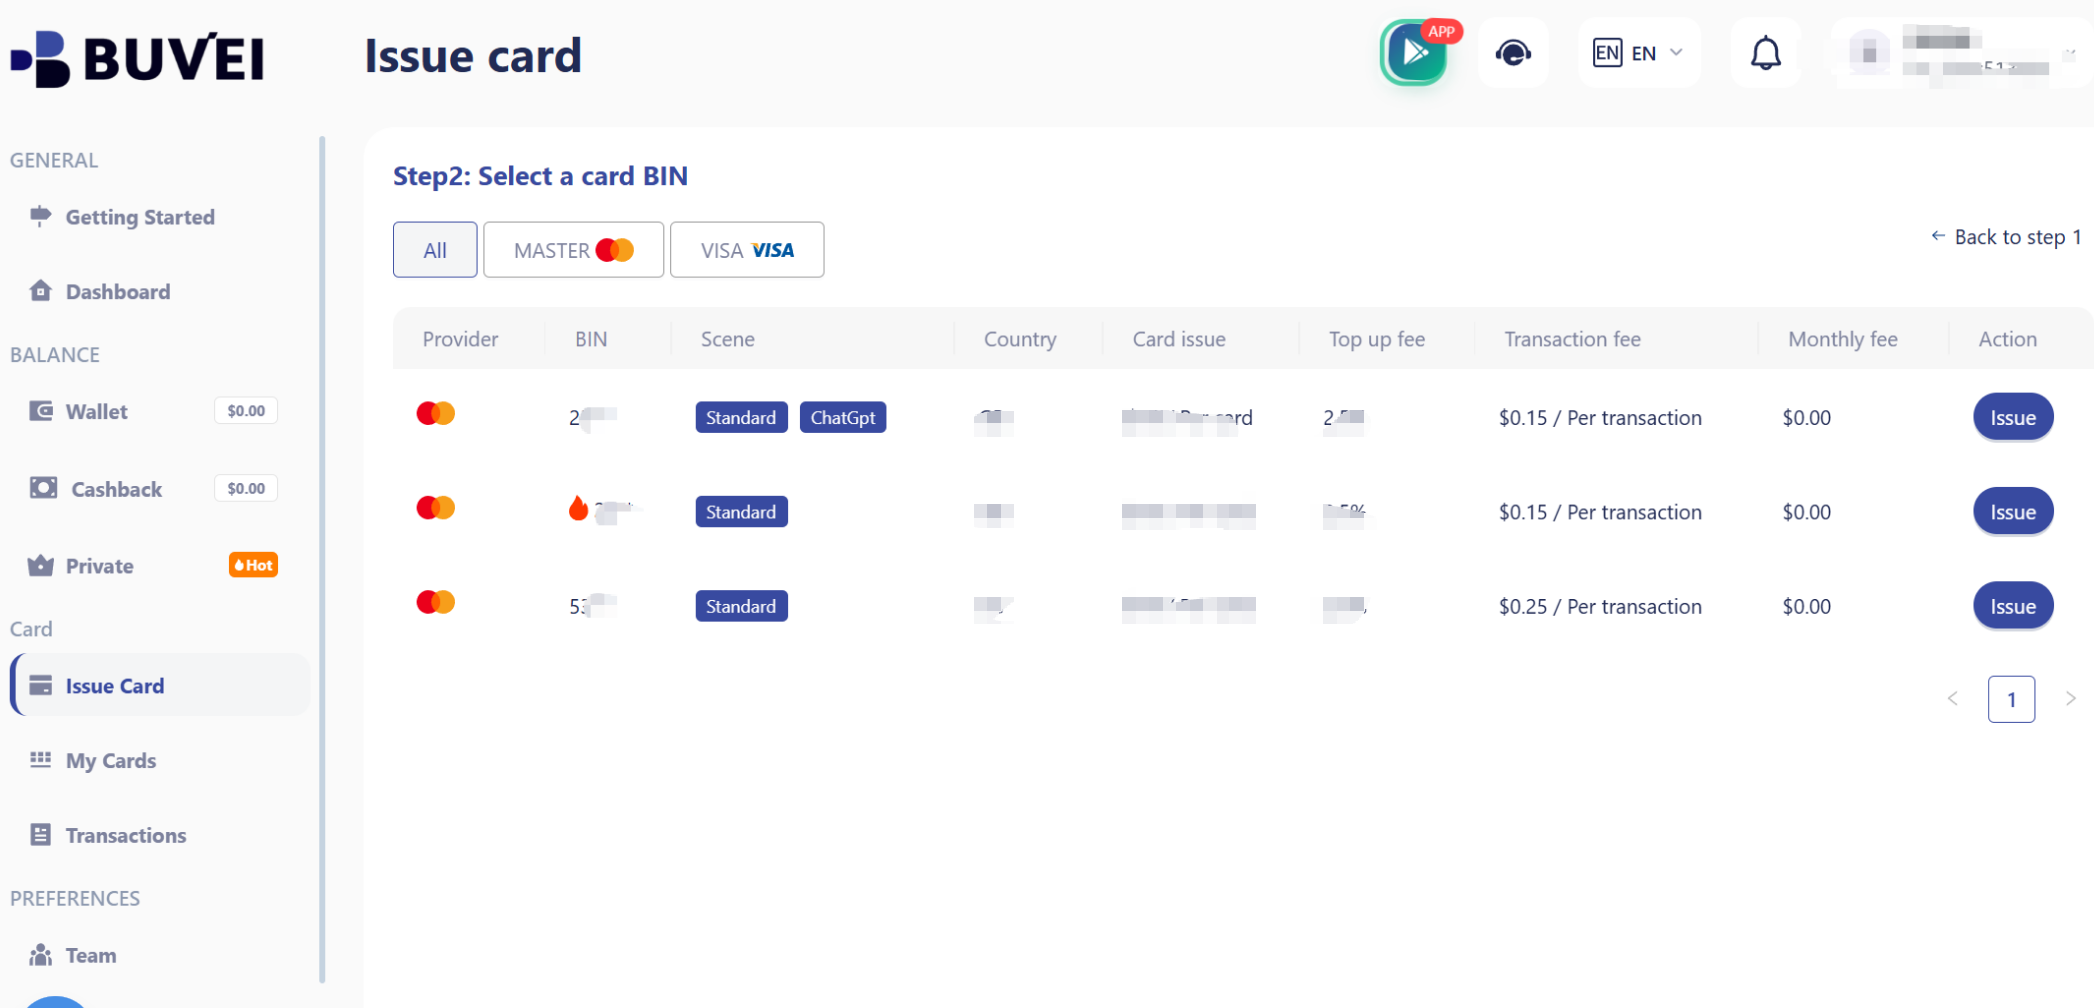
Step 3: Create Your Virtual Card
-
Navigate to the Cards tab
-
Select your preferred BIN region (US BIN is generally recommended for SaaS platforms)
-
Choose your card type
-
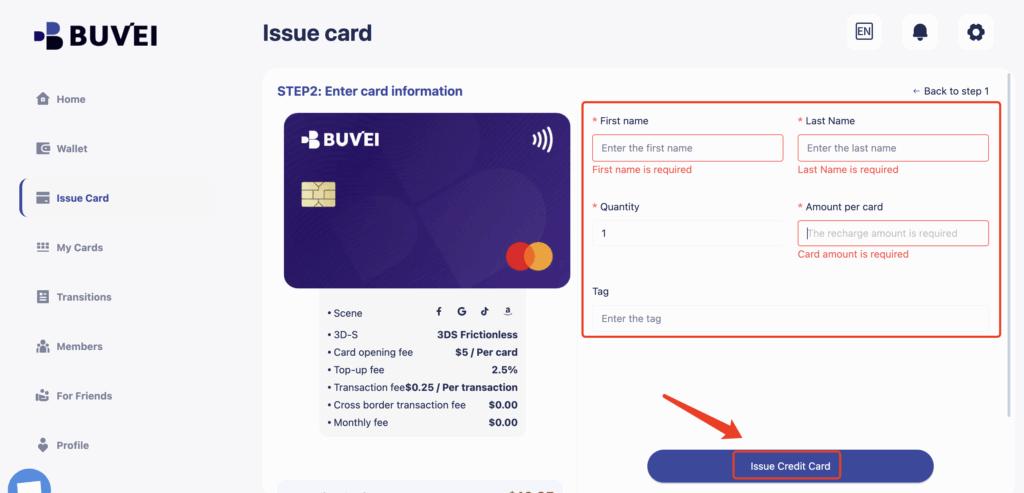
Click Issue Card
-
Enter:
-
Card name
-
Initial funding amount
-
Number of cards (if issuing more than one)
-
-
Confirm issuance
The system generates your card instantly.
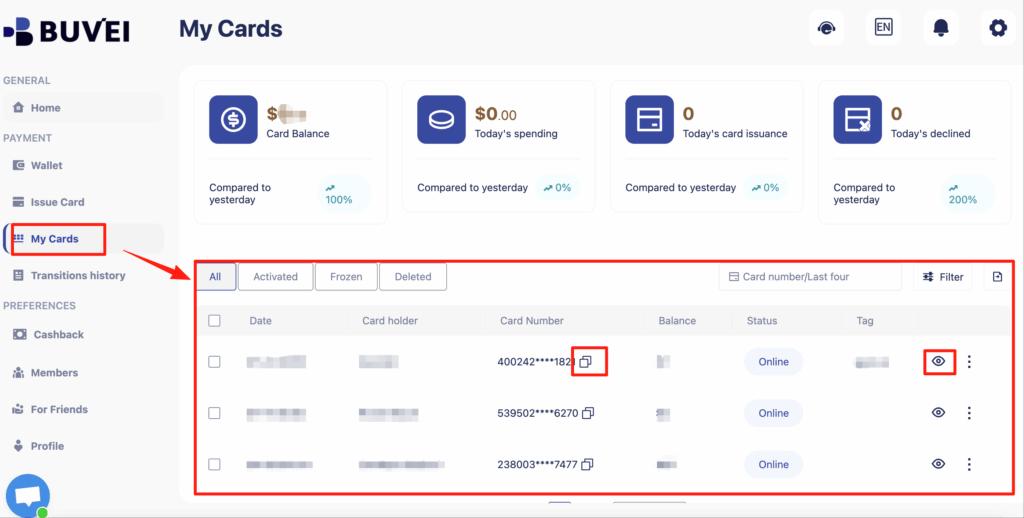
Step 4: Retrieve Card Details
Under My Cards, you can view:
-
Card number
-
Expiration date
-
CVV
-
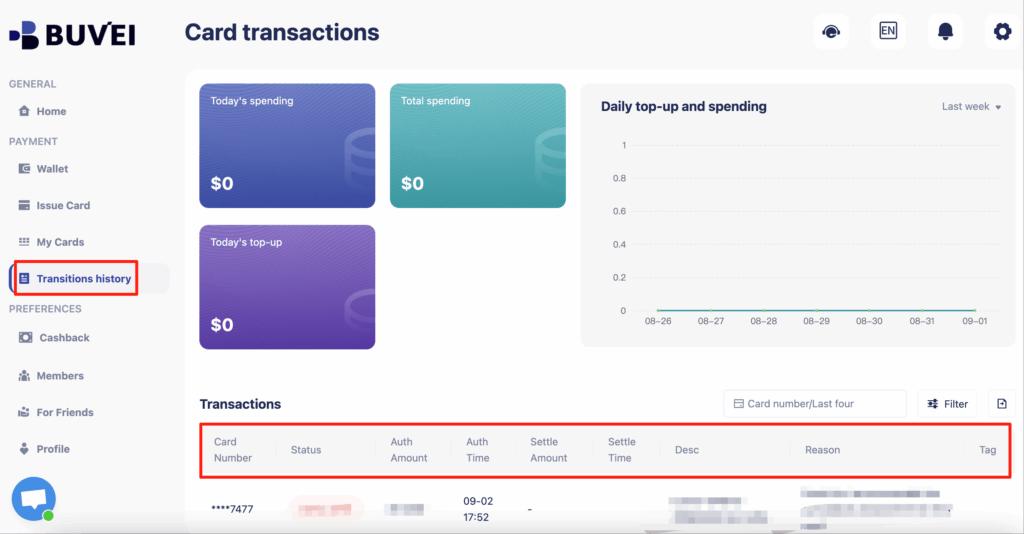
Transaction history
-
Top-up records
You now have a dedicated virtual card ready for OpenAI billing.
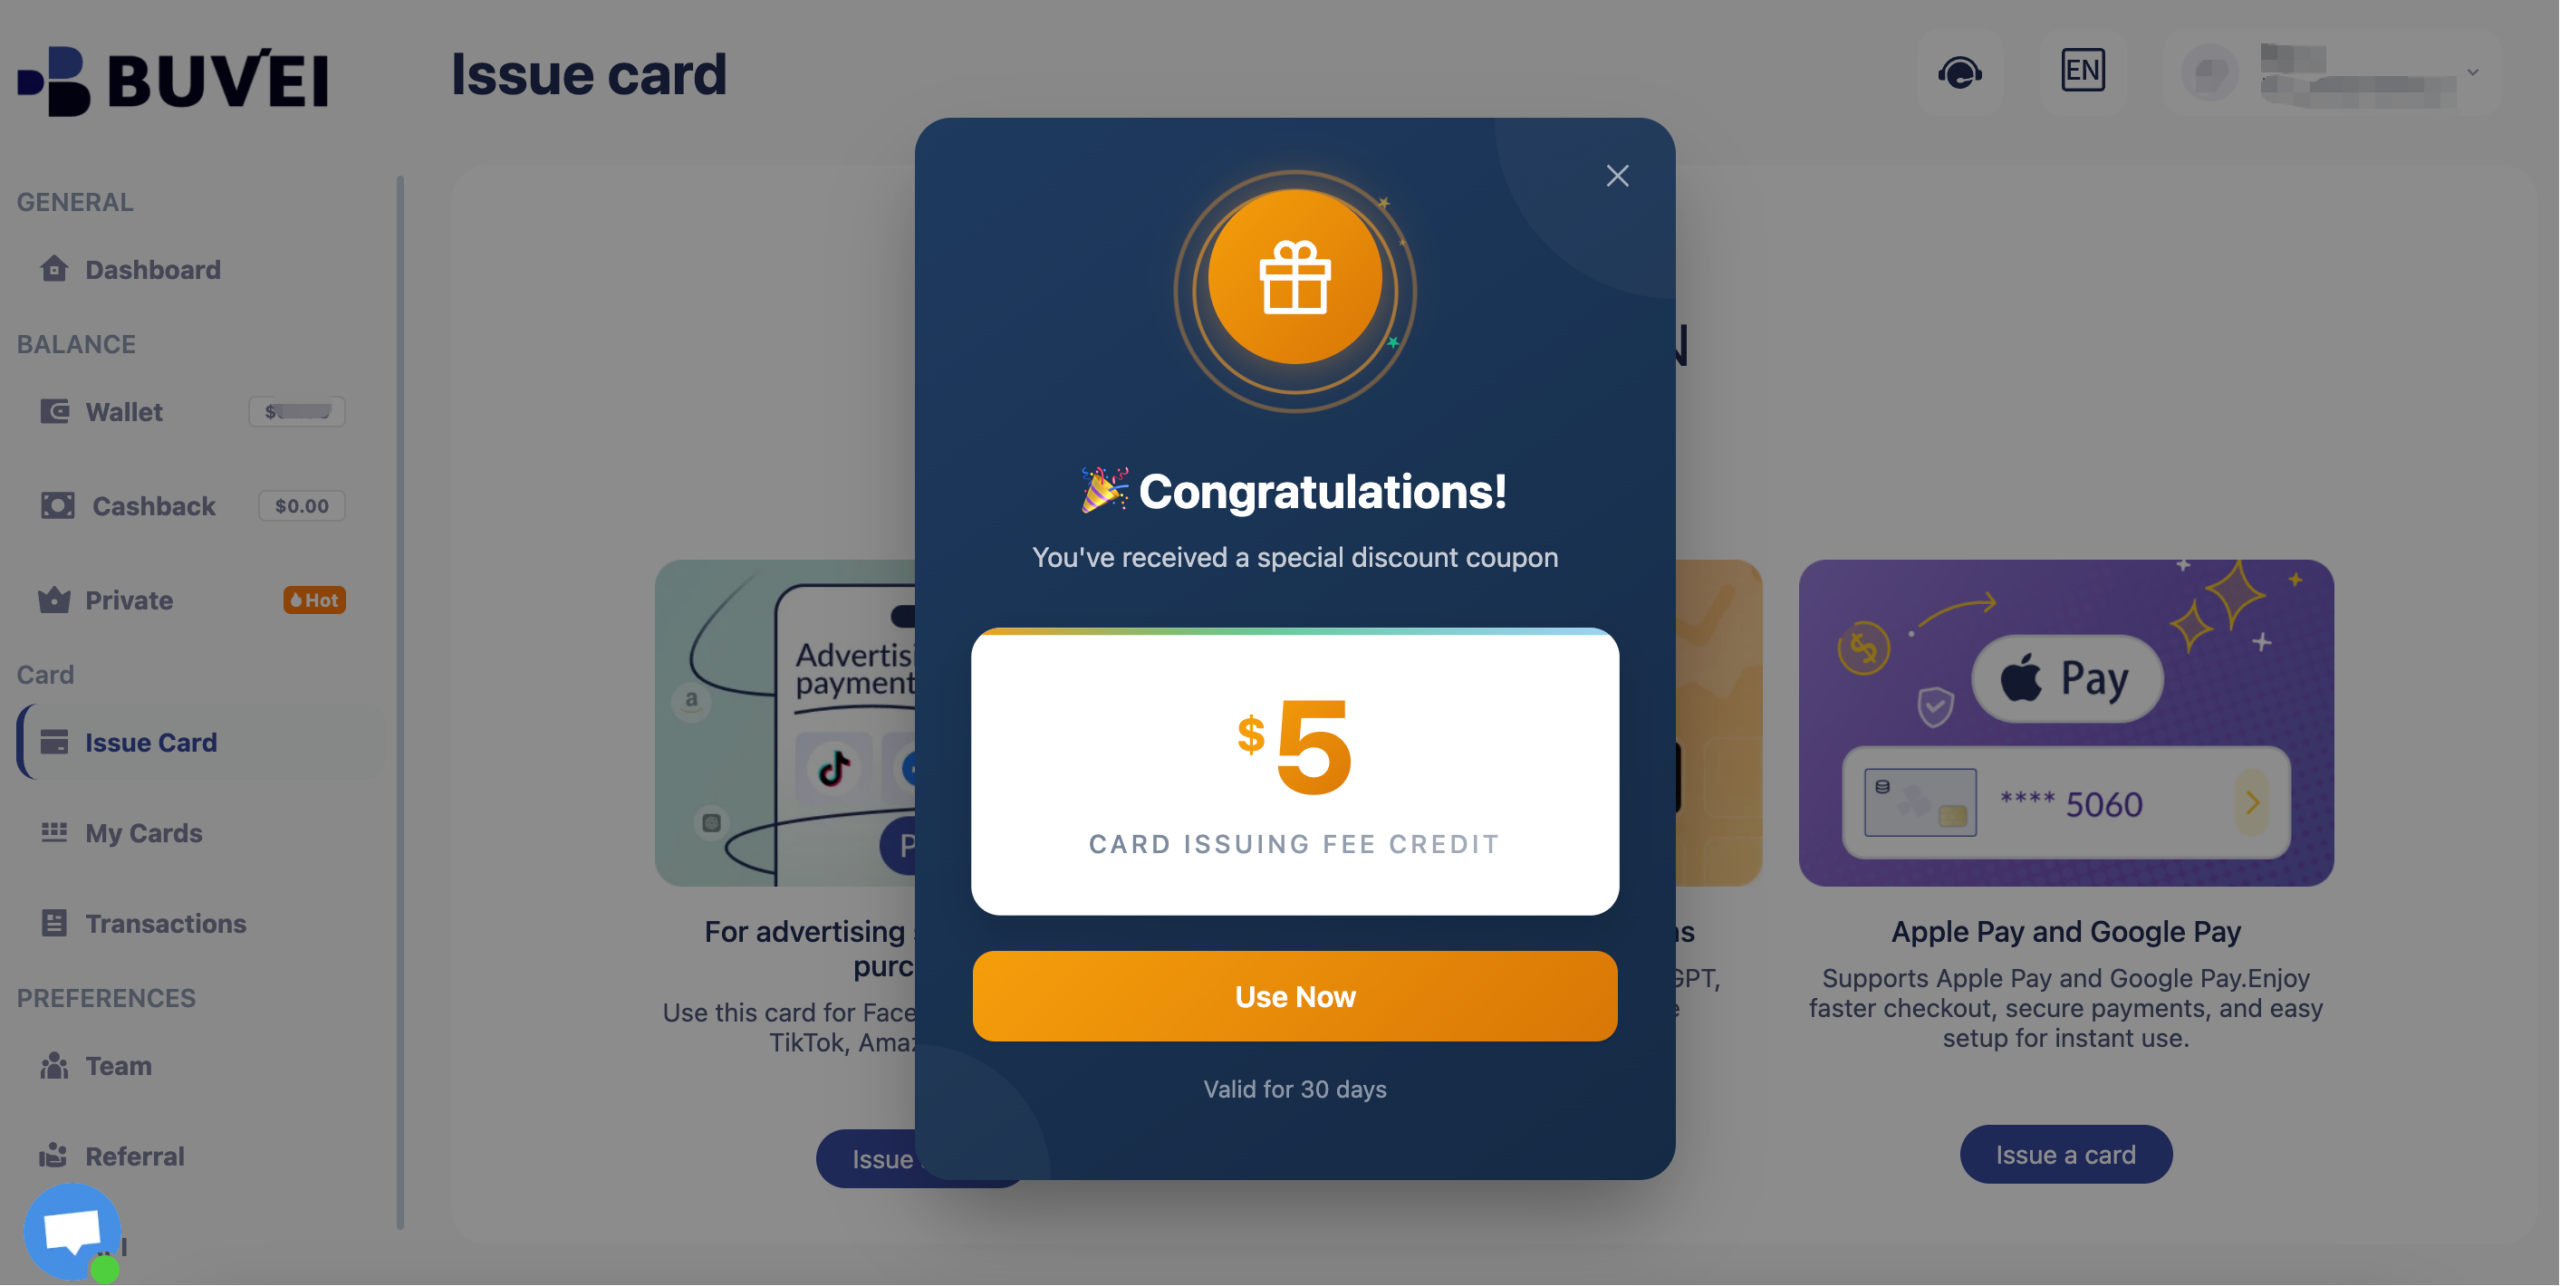
New users receive a $5 virtual card issuance coupon upon registration.
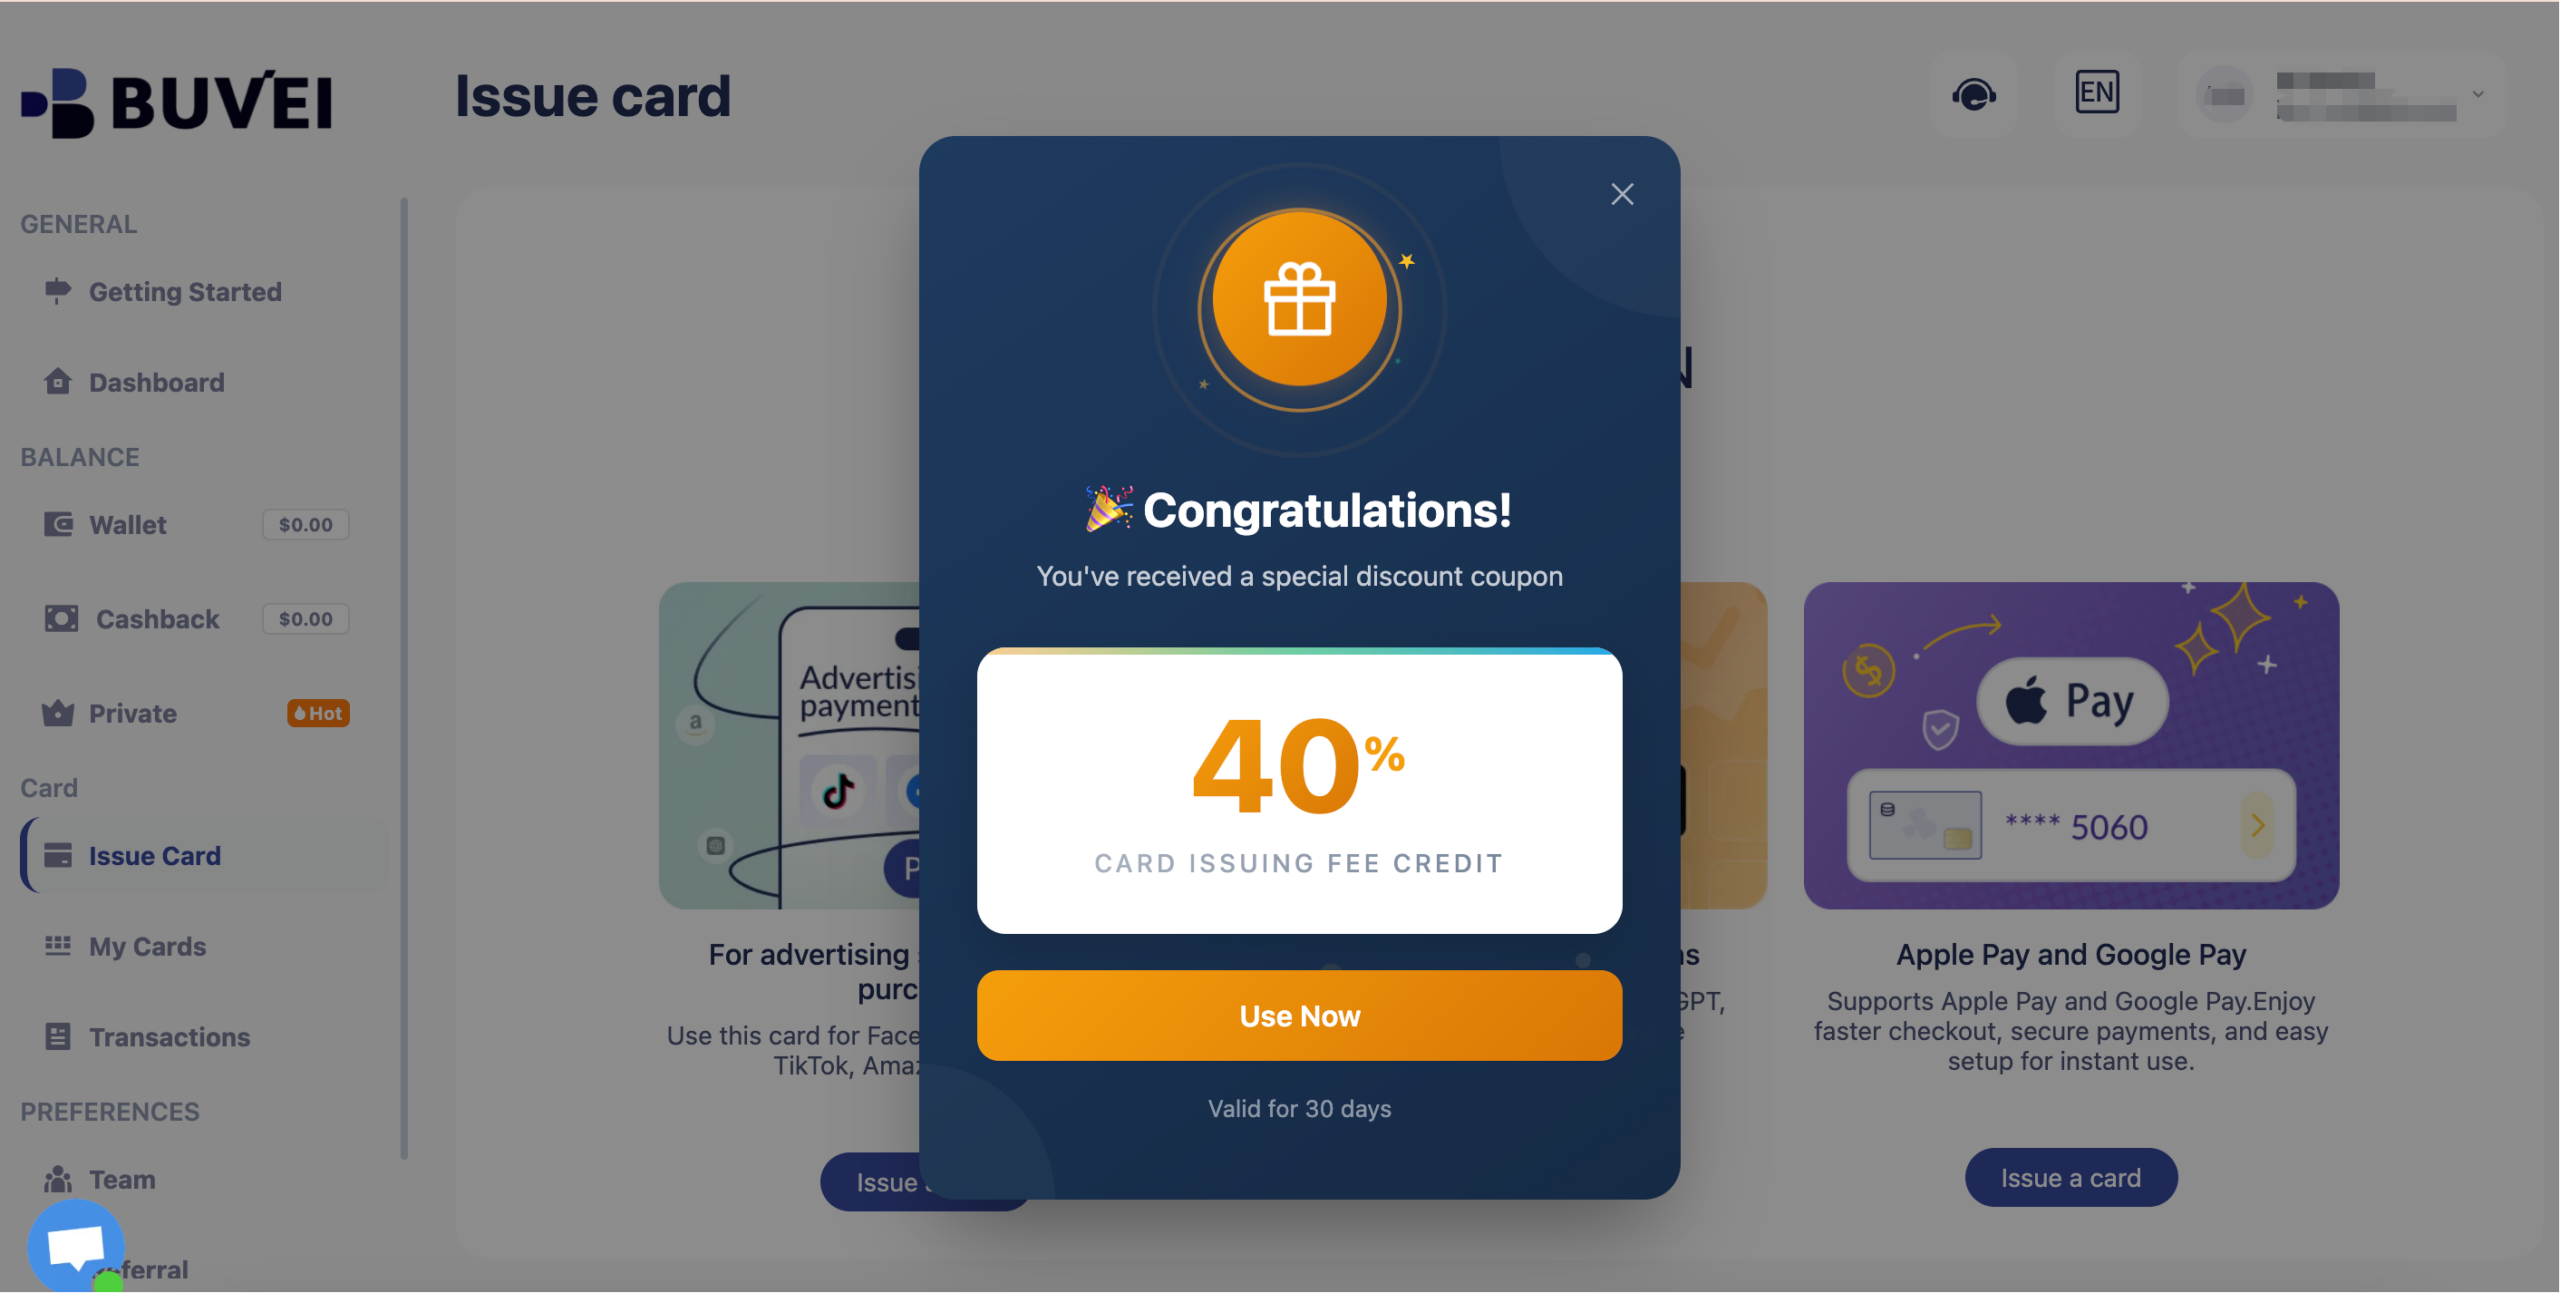
Inactive users may receive coupons worth up to 40% off.
Step 5: Add the Card to Your OpenAI Account
-
Log into your OpenAI account
-
Go to Settings → Billing
-
Click Add Payment Method
-
Enter your virtual card details
-
Save changes
To confirm functionality, consider running a small usage test if you are using API credits.
Managing Your OpenAI Subscription Payments
Once billing is active, ongoing management becomes important.
To manage OpenAI subscription payments effectively:
-
Maintain sufficient wallet balance before renewal dates
-
Use spending limits to control API usage
-
Monitor transaction history regularly
-
Separate cards for different projects or teams
Issuing multiple cards from a single dashboard can help teams isolate costs across departments.

How to Fix OpenAI Payment Declined Errors
If you still encounter a decline:
1. Check Available Balance
Ensure your wallet has enough funds to cover recurring charges.
2. Confirm BIN Compatibility
Switch to a different BIN region if necessary.
3. Avoid Repeated Failed Attempts
Multiple retries in a short period may trigger automated risk checks.
4. Replace the Card Instead of Retrying
In many cases, replacing the card entirely resolves persistent declines more effectively than retrying the same one.
This structured approach often serves as a reliable OpenAI payment declined fix.
Best Practices for Secure OpenAI Billing
To maintain secure and uninterrupted access:
-
Use a dedicated virtual card for OpenAI only
-
Avoid linking personal primary bank cards
-
Monitor subscription renewal dates
-
Keep transparent records of all top-ups and usage
Virtual cards reduce exposure of your underlying financial accounts and add an additional layer of operational control.
Final Thoughts
Reliable billing is easy to overlook until it fails. As OpenAI tools become embedded in daily workflows, a stable payment setup becomes essential.
This OpenAI billing guide demonstrates how using a virtual card for OpenAI can reduce declines, improve subscription stability, and simplify cost management. By setting up a dedicated card, funding it properly, and monitoring renewals, you can avoid billing interruptions and keep your projects running without disruption.